When your basement experiences a minor moisture issue after water damage, it’s essential to tackle it promptly to prevent more significant complications. You might think it’s a simple task, but there are several crucial steps to follow for effective restoration. From evaluating the damage to implementing preventive measures, each phase plays an important role. Understanding these techniques can make a significant difference in your approach and outcomes. Let’s explore the process in detail.
Key Takeaways
- Conduct a thorough damage assessment wearing protective gear, using a flashlight to inspect for mold and deterioration in dark corners.
- Efficiently remove standing water with a suitable pump, monitoring the process to prevent clogs, and use a wet/dry vacuum for remaining moisture.
- Dry the area using high-velocity fans and dehumidifiers while ensuring proper ventilation to promote airflow and monitor humidity levels.
- Clean and disinfect surfaces with appropriate solutions, allowing them to sit for efficacy, and replace any heavily saturated porous materials.
- Implement preventative measures such as maintaining gutters, installing a sump pump, and applying waterproofing sealants to avoid future water damage.
Assessing the Damage and Safety Precautions
Before you plunge into the restoration process, it’s crucial to assess the damage and prioritize safety.
Start with a thorough damage evaluation to identify affected areas, materials, and structural integrity. Use a flashlight to inspect dark corners and check for signs of mold or deterioration. This initial assessment helps you understand the extent of the problem and what you’re up against.
Next, equip yourself with appropriate safety gear.
Wear gloves, masks, and goggles to protect against contaminants and irritants. Ensure proper ventilation in the workspace to avoid inhaling harmful particles. If you notice significant structural issues, like sagging walls, consider consulting a professional before proceeding.
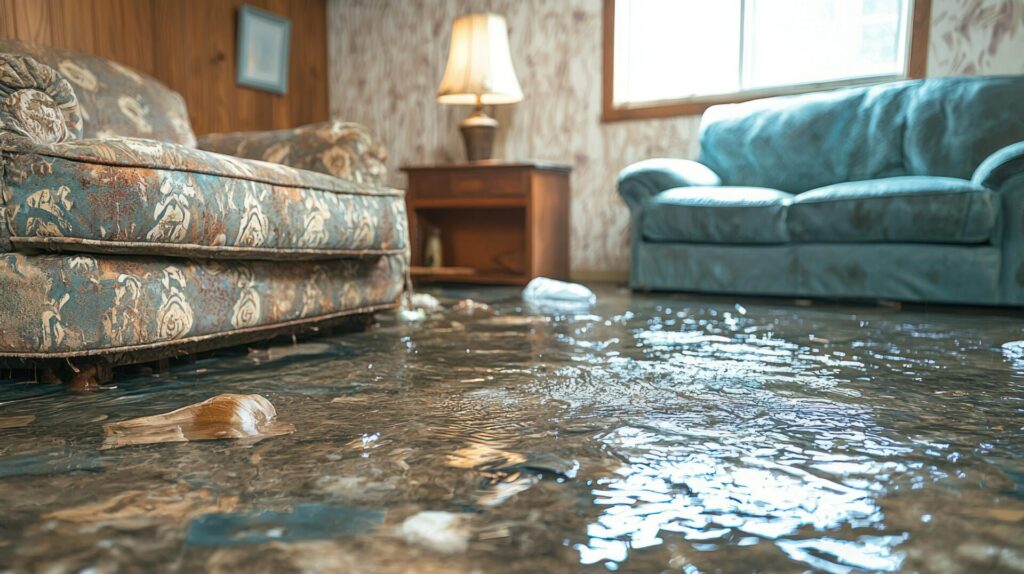
Removing Standing Water Efficiently
Once you’ve assessed the damage, the next critical step is efficiently removing standing water to prevent further issues.
Start by selecting the right pump for your situation; submersible pumps are ideal for deep water, while utility pumps work well for shallower levels. Make sure you choose a pump with a suitable horsepower rating for effective water extraction.
Once you’ve set up your pump, position it at the lowest point in your basement to maximize efficiency.
As the water begins to drain, monitor the process closely to avoid any clogs or disruptions. Use a wet/dry vacuum for residual water that the pump may miss, making certain you leave no moisture behind.
Drying Out the Affected Area
After removing standing water, the next step is drying out the affected area to prevent mold growth and further structural damage.
Effective drying methods are essential, and you should focus on enhancing air circulation and utilizing moisture detection tools. Here are some techniques to evaluate:
- Use fans: Position high-velocity fans to promote airflow, helping to evaporate moisture quickly.
- Dehumidifiers: Invest in dehumidifiers to extract excess humidity from the air, reducing the risk of mold.
- Open windows: If conditions allow, open windows to facilitate cross-ventilation, further enhancing air circulation.
- Check moisture levels: Use a moisture meter to monitor humidity levels, ensuring the area is properly dried before moving on.
Cleaning and Disinfecting Surfaces
As you begin cleaning and disinfecting surfaces in the affected area, it’s vital to address any materials that may harbor contaminants or mold spores.
Start by identifying the surface materials in your basement, such as concrete, wood, or drywall. Each material may require a different approach. For non-porous surfaces, use a commercial cleaning solution that contains disinfectants effective against mold and bacteria. Apply the solution generously, allowing it to sit for the recommended time to maximize its efficacy.
For porous materials, like carpets or insulation, you may need to replace them entirely if they’ve absorbed too much water.
After cleaning, make certain you rinse all surfaces thoroughly to remove any residue from the cleaning solutions. Utilize fans or dehumidifiers to speed up the drying process. This step helps in preventing mold growth and creates a healthier environment for you and your family.
Preventing Future Water Damage
To effectively prevent future water damage in your basement, it’s crucial to identify and address potential sources of moisture. Implementing adequate waterproofing solutions and efficient drainage systems can greatly protect your space.
Here are some key strategies to take into account:
- Inspect and Maintain Gutters: Regularly clean and verify that your gutters direct water away from your foundation.
- Install a Sump Pump: A sump pump can effectively remove excess water, especially in heavy rainfall situations.
- Apply Waterproofing Sealants: Use sealants on basement walls and floors to create a barrier against moisture.
- Improve Grading Around Your Home: Verify the ground slopes away from your foundation to prevent water pooling.
Wrap-Up
By following these five DIY techniques, you can turn your basement from a waterlogged disaster into a dry sanctuary. Think of it as giving your space a much-needed revitalizing boost. With careful assessment, efficient water removal, thorough drying, and diligent cleaning, you’ll restore your basement and fortify it against future floods. Remember, a proactive approach is your best ally in keeping water woes at bay. Your basement deserves to thrive, not just survive.