When a heavy storm floods your basement, you need a systematic approach to mitigate damage effectively. Start by evaluating the situation and ensuring safety precautions are in place. With the right equipment, like submersible pumps and wet/dry vacuums, you can begin removing standing water. Once that’s done, the focus shifts to drying and dehumidifying the area to prevent long-term issues. What you do next could make all the difference in avoiding mold growth.
Key Takeaways
- Wear appropriate PPE, including gloves and boots, to protect yourself during the water removal process.
- Use a submersible pump or wet/dry vacuum to extract standing water effectively.
- Turn off all electrical sources in the affected area to prevent hazards while working.
- Focus on corners and low-lying areas where water tends to accumulate during removal.
- Ensure thorough drying by using fans and dehumidifiers to prevent mold growth and further damage.
Assessing the Flood Damage
When dealing with flood damage, the first step is to thoroughly assess the extent of the impact on your property.
Start by documenting all visible damage, taking clear photos and notes for your records. Focus on structural elements, like walls and foundations, as well as personal belongings affected by water. This damage assessment is vital for understanding the full scope of the situation.
Next, check for hidden damage, such as mold growth or compromised electrical systems.
Once you’ve compiled this information, contact your insurance provider. Present your findings to support your insurance claims effectively, ensuring you include all necessary documentation.
Ensuring Safety Precautions
Before you begin any water removal process, prioritize your safety by wearing appropriate personal protective equipment, like gloves and boots.
Next, verify that all electrical sources in the affected area are turned off to prevent potential hazards.
Taking these precautions will help mitigate risks as you address the flood damage.
Personal Protective Equipment
Personal protective equipment (PPE) is essential for ensuring your safety during flood damage water removal. When tackling this job, you should wear appropriate protective gear, including rubber boots and gloves, to shield yourself from contaminated water.
A sturdy pair of safety goggles will protect your eyes from debris and chemicals. Additionally, consider donning safety clothing, such as long-sleeved shirts and pants, to minimize skin exposure.
It’s vital to have a mask on hand to avoid inhaling harmful particles. Remember, wearing the right PPE safeguards your health and enhances your confidence as you work.
Taking these precautions fosters a sense of community, as you join others in prioritizing safety in challenging situations.
Electrical Safety Measures
As you begin the process of flood damage water removal, ensuring electrical safety is paramount to prevent accidents and injuries.
Start by following these vital steps:
Turn Off the Circuit Breaker: Before entering the flooded area, locate your circuit breaker and shut it off. This reduces the risk of electrical shock.
Assess the Area: Check for any standing water near electrical outlets and appliances. If you see any, don’t enter until the power is off.
Use Water Safety Gear: Equip yourself with rubber boots and insulated gloves when dealing with wet areas. This further protects you from electrical hazards.
Removing Standing Water
Once you’ve assessed the extent of the flooding, it’s critical to start removing standing water as quickly as possible to minimize damage and reduce the risk of mold growth.
Begin by selecting the appropriate equipment for water extraction. A submersible pump is often ideal for larger volumes, as it efficiently handles significant water removal. Familiarize yourself with pump operation—confirm it’s properly plugged in and positioned to avoid further flooding.
If the water level is shallow, a wet/dry vacuum can be effective. Make sure to wear protective gear while you work and avoid electrical hazards.
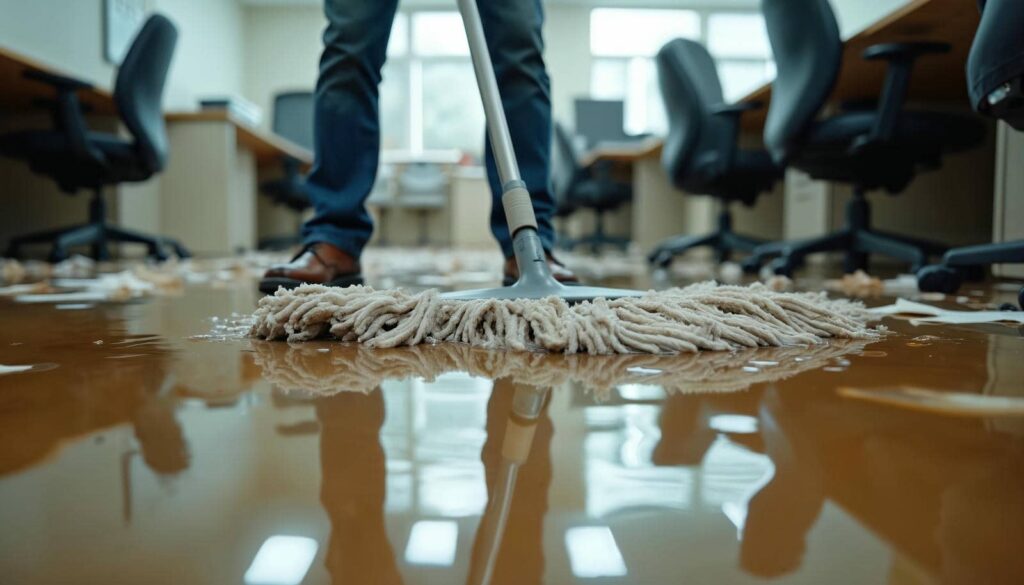
As you extract the water, focus on getting into corners and areas where water tends to accumulate. Don’t rush; methodical removal ensures you’re thorough.
Once you’ve finished, check for any remaining moisture that might need attention later. By tackling this step with precision, you’ll set the stage for effective drying later on.
Drying and Dehumidifying the Area
To effectively dry and dehumidify the area after removing standing water, start by increasing ventilation to promote air circulation. This step is essential for preventing further damage.
Here are some air circulation techniques and moisture control methods to implement:
Open Windows and Doors: Allow fresh air to flow in and help evaporate moisture. Ensure cross-ventilation by opening windows on opposite sides of the space.
Use Fans and Dehumidifiers: Deploy high-velocity fans to create airflow and place dehumidifiers strategically to draw moisture from the air. Adjust their settings based on the humidity levels.
Check for Hidden Moisture: Inspect areas like walls, ceilings, and under flooring for concealed water. Use moisture meters to guide your inspection and verify no damp spots remain.
Cleaning and Sanitizing Affected Surfaces
After you’ve successfully dried the area, it’s crucial to address the cleaning and sanitizing of affected surfaces to prevent mold growth and eliminate contaminants.
Start by gathering your cleaning supplies, including buckets, sponges, brushes, and a solution of water and detergent. Use effective cleaning techniques, like scrubbing surfaces vigorously to dislodge dirt and debris. Pay special attention to corners and crevices where moisture can linger.
Once you’ve cleaned the surfaces, it’s essential to follow up with thorough surface sanitization. Use a disinfectant specifically designed for flood situations, ensuring it meets the required standards.
Apply the disinfectant according to the manufacturer’s instructions, allowing it to sit for the recommended time to effectively kill pathogens. Rinse surfaces afterward to remove any residue.
This meticulous approach restores your space and fosters a sense of safety and belonging in your home, ensuring it’s healthy for everyone.
Inspecting for Mold Growth
As you assess the area post-cleaning, it’s essential to inspect for signs of mold growth, which can develop quickly in damp environments.
Identifying mold early is vital to maintaining a safe and healthy space. Use these mold identification techniques to guide your inspection:
Visual Inspection: Look for discoloration, fuzzy textures, or dark spots on walls, ceilings, and hidden areas like behind furniture.
Moisture Detection: Use a moisture meter to check areas with high humidity or water damage, as these are prime spots for mold.
Odor Assessment: Pay attention to musty odors, which often indicate mold presence even if it’s not visibly apparent.
Implementing effective mold prevention strategies, like ensuring proper ventilation and controlling humidity, can greatly reduce the risk of mold growth.
Preventing Future Flood Damage
While you can’t always predict when a flood might occur, taking proactive measures can greatly reduce the risk of future damage. Start by installing flood barriers around your property to divert water away from vulnerable areas. These barriers can be particularly effective during heavy rainfall or storms.
Next, evaluate and enhance your drainage systems. Make sure that gutters and downspouts direct water away from your foundation. Regularly clean and maintain these systems to prevent blockages that can lead to overflow.
Consider landscaping adjustments, such as grading your yard to slope away from your home. This simple change can considerably improve water drainage.
Lastly, stay informed about your local flood zones and weather alerts. Joining community preparedness programs can provide valuable resources and support.
Frequently Asked Questions
What Types of Insurance Cover Flood Damage Restoration Costs?
Flood insurance typically covers restoration costs following water damage. Make certain your policy includes thorough restoration coverage, which can greatly alleviate your financial burden. Don’t overlook additional riders that might enhance your protection against flood-related expenses.
How Long Does the Water Removal Process Typically Take?
The water removal process typically takes 24 to 48 hours, depending on the severity of the flood. Adhering to an efficient water removal timeline ensures an ideal flood cleanup duration and minimizes long-term damage to your property.
Can I Use a Regular Vacuum for Water Removal?
Sure, you could use a regular vacuum—if you enjoy a good challenge! But really, a water vacuum’s your best bet. It’s designed for the job, ensuring proper equipment keeps your space safe and dry efficiently.
Should I Call a Professional or Handle It Myself?
If you’re confident in DIY water removal techniques, you might handle it yourself. However, professional services ensure thoroughness and safety, preventing future issues. Weigh your abilities against the risks before making a decision.
What Are the Long-Term Effects of Flood Damage on Property?
Flood damage can lead to mold growth and compromise your property’s structural integrity. Over time, untreated issues worsen, resulting in costly repairs, health risks, and decreased property value, making prompt action essential for protection.
Recap
By following these essential flood damage water removal steps, you can effectively restore your space. You might think it’s too overwhelming to tackle on your own, but with the right tools and a methodical approach, you can manage the process safely and efficiently. Don’t underestimate the importance of thorough drying and cleaning to prevent mold growth and further damage. Act promptly, and you’ll protect your home and investment from future flooding issues.