
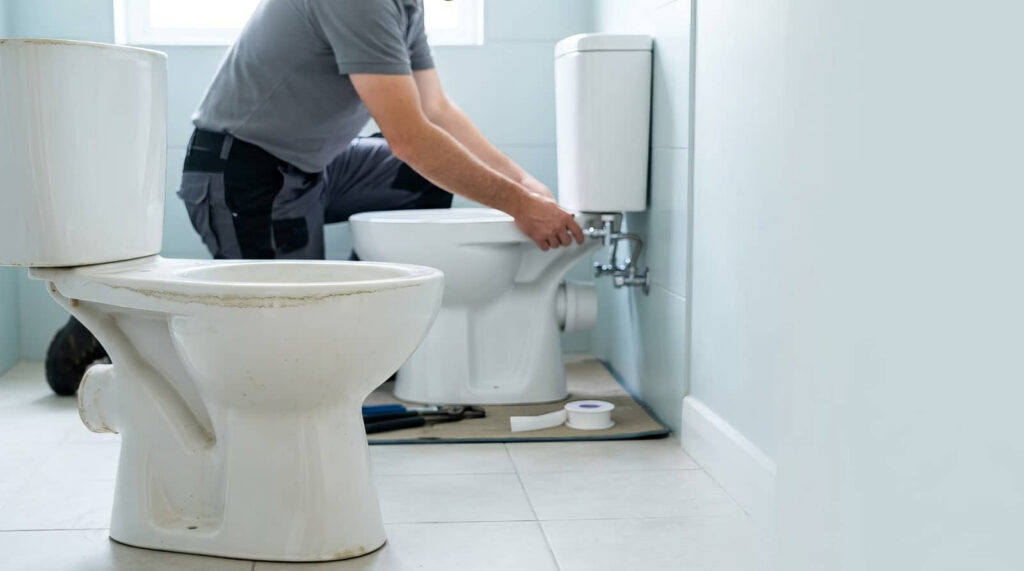
Like a first responder securing a hazard scene, you need to treat pipe-related sewage damage as a controlled emergency. Sewage cleanup tips for pipe damage start with shutting off the source, assessing the risks, and using proper protective gear before approaching contaminated areas. Next, remove contaminated water, disinfect affected surfaces, and dry the area thoroughly to limit mold and structural damage. Sewage can contain harmful pathogens, so professional cleanup may be necessary when contamination is extensive. What you miss in the first hour can lead to far bigger problems later.
Key Takeaways
- Stop the sewage source immediately by shutting off water, isolating the damaged line, and preventing anyone from using affected drains or toilets.
- Wear waterproof gloves, boots, eye protection, and a respirator before cleanup to reduce exposure to dangerous sewage pathogens and splashes.
- Remove sewage with a hazardous-rated pump or wet vacuum, and promptly discard soaked porous materials like rugs, paper goods, and pads.
- Clean and disinfect all exposed hard surfaces with an EPA-registered product, then dry the area within 24 to 48 hours.
- Inspect for hidden moisture, structural damage, and contamination in walls, floors, HVAC, or electrical areas, and call professionals for extensive damage.
Stop the Sewage Source Immediately
Before you begin any cleanup, stop the sewage flow at its source to limit contamination and reduce exposure risk. You protect your home and everyone in it by acting fast and following a clear emergency response sequence.
Shut off water to the affected fixture, then isolate the branch line or main supply if needed.
Next, identify likely sewage sources, including backed-up toilets, floor drains, damaged waste lines, or failed sump systems. If a pump powers the discharge, cut electrical power only from a safe, dry location.
Close nearby valves, prevent additional flushing, and stop appliance discharge from washers or dishwashers. Communicate with everyone in the home so no one restarts water use.
Decide If Sewage Cleanup Is Safe to DIY
Although some minor overflows can be contained safely, you shouldn’t treat every sewage backup as a do-it-yourself job. First, evaluate the source, spread, and exposure time. If wastewater came from a toilet, main line, or floodwater intrusion, assume dangerous contamination. Porous materials, hidden moisture, and recurring backups raise health risks quickly.
You should only handle cleanup when the affected area is small, accessible, and limited to hard, nonabsorbent surfaces. If sewage reached HVAC components, electrical systems, wall cavities, subflooring, or multiple rooms, stop and arrange a professional assessment.
The same applies if anyone in your household has asthma, a weakened immune system, or recent illness. By setting clear limits before you begin, you protect your home, support your household, and make decisions the whole community would recognize as responsible.
Put on Protective Gear First
Because sewage can carry bacteria, viruses, and sharp debris, you need to put on protective gear before entering the affected area. Start with waterproof gloves, chemical-resistant boots, eye protection, and a fit-tested respirator rated for bioaerosols.
Add disposable coveralls or washable work clothing that fully covers your arms and legs. If splash risk is high, use a face shield over goggles.
Follow standard safety procedures every time, even during small pipe backups. Inspect your gear for tears, gaps, or loose seals before you step inside.
Keep clean and dirty zones separate so your protective materials stay effective. If you’re working with others, confirm everyone uses the same protection level and entry plan.
That shared discipline helps you protect yourself, support the team, and reduce exposure risks for everyone.
Remove Sewage Water and Contaminated Materials
You should extract sewage water first with a pump or wet vacuum rated for hazardous wastewater, keeping electrical hazards and cross-contamination under control.
As you work, separate porous materials, saturated furnishings, and other non-salvageable items because they can’t be reliably sanitized.
Then bag, seal, and dispose of contaminated debris according to local waste regulations so you don’t spread pathogens through the cleanup area.
Safe Water Extraction
Start water extraction as soon as the area is secured, using a wet vacuum, trash pump, or other equipment rated for sewage-contaminated water. You should verify power isolation first, then establish controlled access so everyone on your team follows the same safe entry path.
Use proven extraction methods that limit splashing, aerosolization, and cross-contamination.
Work from the highest-contaminated zone toward collection points, keeping hoses stable and discharge contained. You’ll want to monitor water quality conditions visually and note solids, depth, and flow rate before adjusting equipment speed.
Remove saturated porous materials only when they obstruct extraction or trap standing sewage. Keep clean and dirty tools separated, and pause regularly to inspect seals, cords, and pump strainers.
Dispose Of Contaminated Items
Segregate and remove sewage water, sludge, and contaminated debris in a controlled sequence so waste doesn’t spread into clean areas.
You should bag porous contaminated items, including carpet, insulation, cardboard, and upholstered materials, because they can’t be reliably sanitized after blackwater exposure.
Use puncture-resistant bags, seal them tightly, and label contents before moving them through a designated exit path.
Keep salvageable nonporous items separate for disinfection. Follow local disposal methods for sewage waste, sharps, and chemical residues, and document everything for insurance and compliance.
As part of a responsible cleanup team, you’ll protect everyone by preventing cross-contamination during loading, transport, and staging.
Decontaminate tools, bins, and footwear after each removal cycle. If an item’s integrity is compromised, discard it immediately instead of risking hidden microbial growth and future exposure.
Disinfect All Exposed Surfaces
After you remove sewage and debris, you must apply an EPA-registered disinfectant to all exposed surfaces according to the label’s dilution, contact time, and ventilation requirements.
You should work systematically from cleaner areas to more contaminated zones to prevent cross-contamination.
Don’t overlook high-touch surfaces such as door handles, light switches, railings, and tools, since they can retain hazardous pathogens.
Proper Disinfectant Application
Because sewage can leave pathogens on every contacted material, you must apply an EPA-registered disinfectant to all exposed surfaces after removing visible soil and standing moisture.
Check the label for approved sewage-related use, dilution ratio, required dwell time, ventilation needs, and PPE. Different disinfectant types suit different materials, so match chemistry to surface compatibility before you begin.
Use controlled application methods that fully wet, not oversaturate, the area.
Spray, wipe, or mop from cleaner zones toward more contaminated zones to limit cross-transfer. Keep surfaces visibly wet for the full contact time; reapply if drying occurs early.
You’ll protect your household best by changing cloths frequently and using dedicated tools for contained work zones.
When everyone follows these steps carefully, your cleanup process stays safer, more consistent, and more effective.
High-Touch Surface Sanitizing
Prioritize every high-touch item within the affected zone, since these surfaces can retain infectious residue even when they look clean. You should identify door handles, light switches, faucet levers, appliance buttons, railings, and shared tools first.
Clean visible soil, then disinfect according to label dwell times, using gloves and proper ventilation throughout.
Apply proven sanitization techniques systematically, moving from cleaner sections toward the most contaminated points to prevent cross-transfer. Use disposable wipes or color-coded cloths, and change them often.
For electronics, follow manufacturer guidance and use approved disinfecting wipes without oversaturating components. Reinspect high touch areas after drying, because missed spots can compromise the whole response.
When you sanitize methodically, you help restore a safer environment everyone in your home can trust and use confidently again.
Dry the Area Quickly to Stop Mold
Start drying the area as soon as contaminated water is removed, since mold can begin growing within 24 to 48 hours on damp materials. Your team’s focus should be fast, controlled moisture removal for effective mold prevention. Use proven drying techniques to protect materials and keep everyone safer.
- Open windows only if outdoor humidity is lower, and run exhaust fans to increase air exchange without spreading residue.
- Position dehumidifiers and air movers to create continuous airflow across floors, walls, and affected contents; empty collection tanks often.
- Remove wet rugs, pads, paper goods, and porous debris promptly, then wipe remaining hard surfaces dry with clean disposable towels.
Keep humidity below 60 percent if possible. You’ll reduce microbial growth, support safer reentry, and help your household recover together with confidence.
Inspect for Hidden Damage and Call a Pro
Once the area is dry, check for hidden moisture and structural damage that sewage can leave behind in wall cavities, subflooring, insulation, and HVAC components.
Use a moisture meter, flashlight, and your sense of smell to identify damp spots, swelling, staining, corrosion, or hidden leaks. Document everything so your household team stays aligned and informed.
If you find warped materials, persistent odor, or electrical concerns, don’t open contaminated assemblies without proper protection.
Shut off power to affected zones and limit access. Sewage pathogens can remain active after surfaces look clean. That’s why a professional assessment matters.
A qualified restoration or plumbing expert can trace contamination paths, verify drying, and determine whether materials need removal or disinfection.
Calling a pro helps protect everyone and restores confidence in your shared space safely.
Frequently Asked Questions
How Much Does Professional Sewage Cleanup Usually Cost?
You’ll usually pay $2,000 to $10,000 for sewage cleanup costs, though minor jobs can run lower. Professional services price by contamination level, affected materials, and safety protocols, so you should request an itemized assessment first.
Will Homeowners Insurance Cover Sewage Damage From Pipe Failures?
Yes—could your homeowners insurance cover sewage damage from pipe failures? It often does if your insurance policy includes sudden accidental discharge, but you’ll need to verify exclusions, endorsements, and coverage limits before you file promptly.
How Long Does Sewage Cleanup and Restoration Typically Take?
You can expect sewage cleanup and restoration to take 3 days to 2 weeks, depending on cleanup timeline and restoration factors. You’ll protect your home best by following containment, drying, disinfection, and verification steps carefully.
Can Sewage Damage Reduce My Home’s Resale Value?
Yes—even if you remediate it, sewage damage can reduce your home’s resale value. You must document certified cleanup, repairs, and testing, because resale factors and market perception improve when buyers see methodical, safety-focused risk control.
How Can I Prevent Future Sewage Backups and Pipe Damage?
You can prevent future sewage backups and pipe damage through consistent pipe maintenance, scheduled plumbing inspections, and effective drainage solutions. Prioritize sewage prevention by avoiding grease buildup, flushing only approved materials, and joining neighbors in upkeep.
Conclusion
When pipe damage leaves a dark, contaminated tide across your floor, act with precision. You’ve stopped the source, assessed the risk, suited up, removed waste, disinfected every exposed surface, and dried the space before mold can take hold. Now, look beyond what you can see—behind baseboards, under flooring, inside wall cavities. Hidden moisture can keep damage spreading silently. If conditions feel unsafe or extensive, call a qualified restoration professional to complete a thorough, code-conscious recovery.