
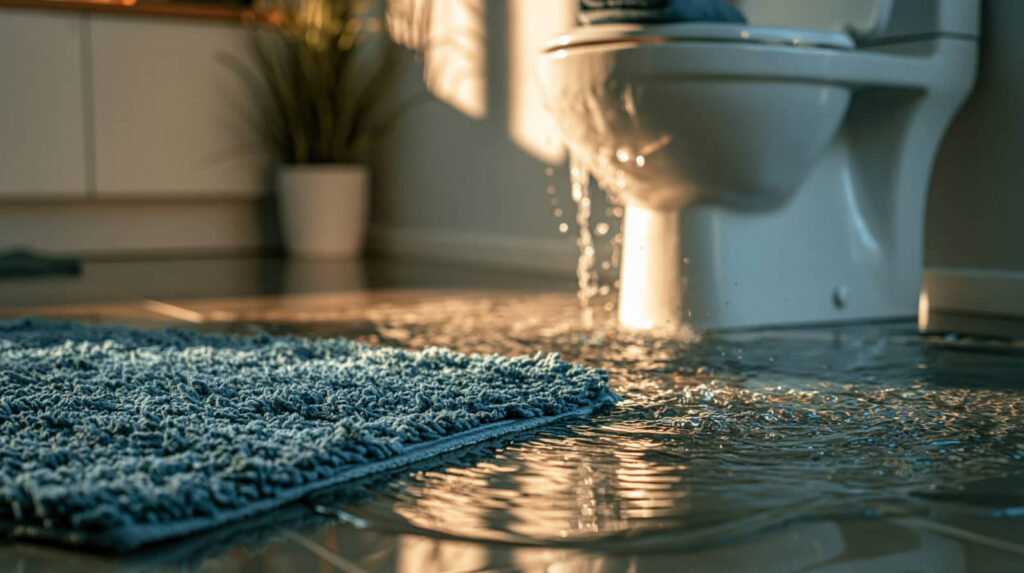
A burst sewage backup can turn your property into a biohazard zone in minutes. Burst Sewage Cleanup should begin by stopping the source, isolating the area, and assessing whether conditions are safe to handle. If you proceed, wear proper PPE and remove contaminated water quickly to limit structural damage and exposure. Then clean, sanitize, and dry every affected surface with methodical care. Miss one critical step, and the hazards don’t end when the water is gone.
Key Takeaways
- Stop the sewage source immediately, isolate the backup point, and move valuables away to limit contamination and further water damage.
- Assess contamination severity, affected materials, and occupant health risks to decide whether cleanup is safe or requires professional remediation.
- Wear waterproof gloves, boots, eye protection, and a respirator before removing sewage water with a pump or wet vacuum.
- Clean hard surfaces with detergent, then disinfect using an EPA-registered product; discard porous materials soaked with sewage.
- Dry the area quickly with dehumidifiers and air movers, keeping humidity below 60% to help prevent mold growth.
Stop the Sewage Source and Limit Damage
Act fast to stop the sewage source and contain the spread before cleanup begins. Shut off the nearest supply line or isolate the backup point immediately. If the source is appliance-related, disconnect power at the breaker before you touch valves or hoses. Your first emergency response goal is control: stop incoming flow, prevent overflow, and protect unaffected rooms.
Next, establish sewage containment. Close interior doors, block thresholds with absorbent barriers, and use plastic sheeting to isolate traffic paths. Move furniture, rugs, documents, and electronics out of the affected zone to limit secondary damage.
Open windows for ventilation if conditions allow, and switch off HVAC systems to reduce cross-contamination through ductwork. By acting methodically, you protect your space and support everyone involved in a coordinated recovery effort.
Decide If the Sewage Damage Is Safe to Handle
Before you begin cleanup, determine whether the sewage damage falls within a safe DIY scope or requires professional remediation. Start by evaluating the source, affected area, and exposure time. If black water contacted porous materials, HVAC components, insulation, or multiple rooms, you shouldn’t handle it yourself. Those conditions elevate health risks and usually exceed residential sanitation limits.
Next, inspect for contamination signs such as strong sewage odor, visible solids, wall saturation, floor delamination, or wastewater migrating beneath cabinets and baseboards.
You should also consider who lives in the home. If anyone is immunocompromised, elderly, pregnant, or very young, choose professional help.
As a homeowner community, you protect everyone better by setting clear thresholds: limited surface contact may be manageable, but hidden spread, structural absorption, or uncertain source origin demands expert remediation.
Wear PPE and Remove Sewage Water Fast
Gear up with proper PPE, then remove sewage water as quickly as conditions allow to reduce exposure time and limit contamination spread.
Wear waterproof gloves, boots, eye protection, and a respirator rated for bioaerosols if splashing or aerosols are possible. Use disposable coveralls when contamination is extensive, and check all protective gear for damage before entry.
Shut off electricity to affected zones if you can do so safely.
Establish a controlled path in and out, then begin sewage extraction with a pump or wet vacuum designated for contaminated water. Work from the lowest point first, discharge waste according to local rules, and avoid tracking material into clean areas.
Change gloves if torn, wash hands immediately after removal, and keep everyone on your team aligned with the same safety steps.
Clean, Sanitize, and Dry Sewage-Damaged Areas
Once you’ve removed the bulk sewage water, clean all affected surfaces with detergent and hot water to lift organic residue. Then apply an EPA-registered disinfectant labeled for sewage or biohazard contamination at the required dilution and contact time.
Use mechanical scrubbing on nonporous materials, and discard porous items that can’t be decontaminated safely. Rinse only if the product label requires it. For heavy sewage contamination, repeat washing and disinfection until visible soil and odor are eliminated.
Extract remaining moisture with a wet vacuum, then use air movers and dehumidifiers to dry structural materials to acceptable moisture readings. Check subfloors, wall cavities, and trim with a moisture meter so your cleanup techniques are verified, not guessed.
Prevent Mold After Sewage Cleanup
Because sewage introduces both moisture and organic nutrients, you need to control drying conditions immediately to prevent mold growth after cleanup. Start dehumidifiers at once, maintain indoor humidity below 60 percent, and verify readings with a hygrometer.
Increase air circulation using axial fans, but don’t direct airflow into contaminated cavities unless you’ve removed affected materials.
Inspect drywall, subflooring, insulation, and framing for trapped moisture with a moisture meter. If materials remain above acceptable drying goals, remove and replace them promptly.
Clean HVAC components, change filters, and keep the system off until sanitation is complete to avoid spreading spores.
As part of your mold prevention plan, document drying progress every 24 hours. When you follow these steps, you protect your home and uphold the safety standards your community counts on daily.
Frequently Asked Questions
Does Homeowners Insurance Cover Burst Sewage Cleanup After Water Damage?
Yes, your home insurance may cover burst sewage cleanup after water damage if your policy includes sewage backup protection. You should verify exclusions, document contamination, mitigate hazards immediately, and coordinate with your insurer and licensed remediation professionals.
How Much Does Professional Sewage Cleanup Usually Cost?
Like opening Pandora’s box, you’ll usually pay $2,000–$10,000 for sewage cleanup costs. You should hire professional services that inspect contamination, remove waste, disinfect surfaces, and verify safety, so you’ll protect your home and community.
How Long Does Burst Sewage Cleanup Typically Take?
You can expect cleanup duration to range from one to five days, depending on contamination, drying, and repairs. You’ll protect your household by following sewage safety procedures, using proper PPE, containment, disinfection, and clearance testing.
Can Burst Sewage Contamination Affect My Home’s Resale Value?
Like a warning light, yes—you can face resale impact if buyers detect contamination concerns. You protect value when you document remediation, verify sanitation, and disclose repairs clearly, helping your home meet safety expectations and community standards.
When Should I Call a Licensed Plumber Versus a Restoration Company?
Call a licensed plumber when you need leak diagnosis, pipe repair, or plumber qualifications for code compliance. Call restoration services when contamination, saturated materials, or structural drying require safety protocols. You protect your home together.
Final Thoughts
By stopping the source, evaluating hazards, using proper PPE, extracting sewage quickly, and disinfecting every affected surface, you restore a safer environment and reduce structural and health risks. You must dry materials thoroughly, monitor moisture, and discard unsalvageable porous items to block mold growth. Don’t treat sewage damage like a telegram from the past—respond immediately, document each step, and follow strict sanitation procedures so your property returns to a stable, hygienic condition with minimal secondary damage.