
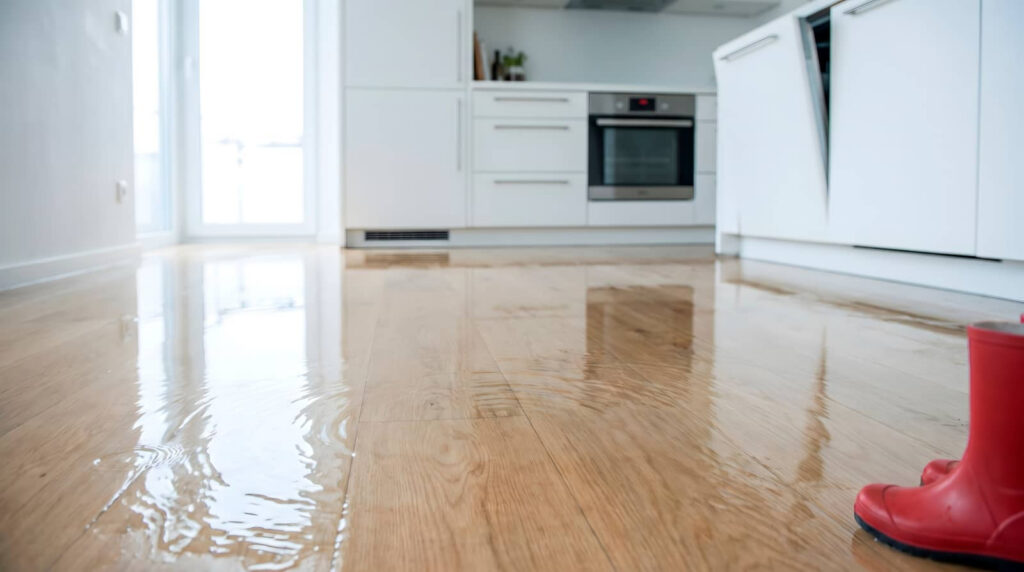
You may not know that water damage can spread behind walls and under floors within hours, even when surfaces look manageable. Emergency Water Damage should be addressed quickly to limit structural loss and mold risk. Start by stopping the water source, cutting power safely, documenting the damage, and beginning extraction without delay. Each step has a correct order, and skipping one can increase costs, contamination, and repair time. The next actions can determine what you’re able to save.
Key Takeaways
- Stop the water source, shut off electricity safely, and avoid flooded electrical panels until a professional confirms conditions are safe.
- Photograph all damage before cleanup, including affected rooms, items, serial numbers, and materials, then contact your insurer immediately.
- Remove standing water quickly with pumps or wet vacuums, then use fans and dehumidifiers to dry surfaces and hidden cavities.
- Clean and disinfect salvageable nonporous items, but discard soaked porous materials like drywall, insulation, carpet padding, and mattresses.
- Call restoration professionals for sewage, stormwater, structural damage, persistent odors, or water exposure beyond minor spills.
Stop the Water and Cut Power
Before you begin cleanup, stop the water at its source and shut off electricity to any affected area. Your first priority is control. Identify the water source fast: a burst supply line, failed appliance hose, or overflowing fixture. If you can reach it safely, close the nearest valve. If that fails, use your home’s emergency shutoff valve.
Next, cut power to wet rooms at the breaker panel. Stand on a dry surface, use one hand, and never touch energized equipment or submerged cords.
If the panel is in a flooded area, don’t approach it; call your utility or an electrician instead.
You’re not overreacting by moving carefully. These steps protect everyone in your household and help your cleanup team work from a safer, more stable starting point together.
Document Damage and Call Insurance
Once the area is stable, document the damage before you move or discard anything. Use your phone to capture wide shots, close-ups, serial numbers, and affected materials from multiple angles. Record the date, time, source of water, and visible safety hazards.
Create a room-by-room inventory and note damaged structural elements, appliances, electronics, and personal items.
Then contact your insurer promptly and follow your policy’s reporting procedure exactly. Ask what your insurance coverage includes, what emergency measures they authorize, and whether they require specific vendors or inspections.
Keep all claim numbers, emails, receipts, and call notes together, because organized damage documentation supports faster review.
If you’re part of a homeowners association or rental community, notify property management too, so everyone stays aligned on responsibilities, access, and next steps.
Remove Standing Water Fast
Before you extract water, shut off electricity to affected areas, wear protective gear, and confirm the water source is contained so you don’t increase the hazard.
You’ll remove standing water most efficiently with the right equipment, such as a wet/dry vacuum, pump, or absorbent materials matched to the depth and spread.
Once extraction starts, you should accelerate drying with airflow, dehumidification, and prompt material separation to limit structural damage and microbial growth.
Safety Before Extraction
Although standing water needs quick removal, you should verify that the area is safe to enter first. Pause and assess water hazards, structural instability, and contamination sources before stepping inside. Your personal safety comes first, so shut off power if you can do so safely, and follow strict electrical safety practices around outlets, appliances, and extension cords.
Wear safety gear and protective equipment, including gloves, boots, eye protection, and a respirator if odors or sewage are present. Review your emergency plan, keep first aid nearby, and never work alone; a partner helps your team respond faster if conditions change.
Watch for slip risks, sharp debris, and hidden holes under cloudy water. This methodical approach reduces health risks immediately and supports mold prevention once extraction begins.
Best Water Removal Tools
After you’ve confirmed the area is safe to enter, start water extraction with the fastest tool that fits the depth and contamination level. For deep pooling, use a submersible pump with a grounded extension and discharge hose routed away from the structure.
For shallow water, switch to a wet/dry vacuum with a GFCI-protected outlet. If debris is present, use a sump scoop or push broom first to prevent clogs.
Choose water extraction methods based on category and depth, not convenience. Clean water allows faster mechanical removal; contaminated water demands sealed containers, PPE, and controlled disposal.
Keep cords elevated, monitor tank capacity, and empty equipment before overflow. Hand squeegees help on hard surfaces after bulk removal.
Speed Up Drying
Move quickly to remove standing water, because every hour of contact increases material saturation, microbial growth risk, and drying time. You’ll protect your home and help your cleanup team stay on the same page by following a disciplined drying sequence.
Extract pooled water immediately with a wet vacuum or pump, then blot residual moisture from hard surfaces and seams.
Increase air circulation by opening interior pathways, positioning fans across wet areas, and avoiding outlets or devices near active moisture.
Support evaporation with proper dehumidifier usage; close windows, monitor humidity, and empty collection tanks safely to maintain continuous operation.
Check subfloors, baseboards, and cavities with a moisture meter if available.
If materials remain wet after 24 to 48 hours, remove and replace them to prevent hidden mold and structural deterioration.
Dry Floors, Walls, and Hidden Moisture
Once you’ve removed standing water, dry floors and walls immediately with high-velocity air movers, dehumidifiers, and controlled ventilation to limit structural damage and mold growth.
Position equipment to create consistent airflow across wet surfaces, and isolate unaffected rooms to prevent humidity migration. Use GFCI-protected power sources and keep cords clear of damp pathways.
Check subfloors, baseboards, insulation, and wall cavities for hidden moisture. Use moisture meters to verify moisture levels, track progress, and decide whether materials can stay in place.
Apply targeted drying techniques, such as removing toe-kicks, drilling weep holes below baseboard height, or lifting carpet edges for airflow.
Monitor temperature and relative humidity every few hours. By following a disciplined process, you protect your home and support the same safety-first standards your community values.
Clean and Sanitize Flooded Areas
Disinfect every flood-affected surface as soon as drying is underway, because floodwater often carries bacteria, sewage residue, and fine silt that can remain hazardous even when materials look clean.
In the flood aftermath, you’ll protect your household and community by using disciplined sanitation techniques:
Wear gloves, eye protection, and an N95 respirator before scrubbing.
Wash hard surfaces with hot water and detergent to remove soil first.
Apply an EPA-registered disinfectant or properly diluted bleach solution, keeping the required contact time.
Work from cleaner zones toward dirtier ones to limit cross-contamination. Ventilate the area continuously, and never mix bleach with ammonia or acids.
Reclean high-touch points like handles, switches, and railings. When everyone follows the same methodical steps, recovery becomes safer, faster, and more manageable together.
Save Damaged Items or Throw Them Out
You should first assess each item’s salvage potential by checking the material type, contamination level, and exposure duration.
Next, prioritize high-value items that can be cleaned, disinfected, and dried without creating a health risk.
Discard porous, contaminated, or structurally compromised materials, because keeping unsafe items can spread mold, bacteria, and damage.
Assess Salvage Potential
How do you decide what to save after water damage? You’ll get better results if you apply clear salvage criteria before touching anything. First, wear gloves and isolate hazards.
Then inspect each item for water category, exposure time, structural stability, and visible contamination. Materials that swell, delaminate, or trap sewage usually fail safe recovery standards.
Use this method:
- Classify the material: porous, semi-porous, or nonporous.
- Check contamination level and odor penetration.
- Match condition to proven restoration techniques.
You’re part of a careful cleanup process, so document findings and separate recoverable items from unsafe debris.
Hard surfaces often respond well to cleaning and drying. Insulation, particleboard, and heavily contaminated textiles usually don’t.
When in doubt, choose health protection and keep your work area controlled and organized.
Prioritize High-Value Items
After you separate salvageable materials from unsafe debris, rank what remains by value, replaceability, and restoration risk before starting cleanup. Create a high value item inventory with three tiers: critical documents, costly assets, and meaningful keepsakes. This structure keeps your household aligned and reduces handling errors during a stressful response.
Next, prioritize sentimental items that can’t be reproduced. Then evaluate electronics, artwork, heirlooms, and records for moisture exposure, contamination pathways, and material stability. Photograph each item, label its location, and note visible damage so everyone supporting recovery follows the same plan.
Move top-tier belongings to a clean, dry staging area with airflow and minimal traffic. By sequencing recovery this way, you protect what matters most, support informed restoration decisions, and keep your cleanup process controlled, efficient, and safer overall.
Discard Unsafe Materials
Separate hazardous debris from potentially restorable contents before anything goes back indoors. You protect your household and cleanup team when you sort methodically and document each decision. Discard porous items saturated by contaminated water, because they can trap bacteria, support mold growth, and fail after drying.
Throw out soaked insulation, drywall, carpet padding, mattresses, and particleboard furniture.
Keep nonporous items like metal, glass, and hard plastics only if you can wash, disinfect, and fully dry them.
Isolate hazardous materials, including chemicals, paint, batteries, and asbestos-containing debris, for specialized disposal.
If an item smells musty, delaminates, or shows staining after cleaning, don’t bring it back inside. Following these standards helps your home recover safely, and it keeps everyone involved working from the same clear plan together.
Know When to Call Restoration Pros
When water damage exceeds a minor surface spill, you should call restoration professionals immediately to control structural deterioration, electrical hazards, and microbial growth.
You’ll know when to call by watching for signs of damage such as sagging drywall, warped flooring, persistent odors, or contaminated water.
If flooding involves sewage, storm runoff, or hidden moisture, request emergency services and a professional assessment.
Experts classify water categories, identify types of damage, and set a restoration timeline based on moisture mapping, contamination level, and material loss.
They also apply specialized restoration methods, including extraction, dehumidification, antimicrobial treatment, and controlled demolition.
Acting quickly protects your household from health risks and limits secondary damage.
Keep photos, receipts, and notes to support insurance coverage, and trust trained crews to help your home recover safely and completely.
Frequently Asked Questions
How Long Does Homeowners Insurance Take to Process Water Damage Claims?
You can expect homeowners insurance to process water damage claims in 2–6 weeks, depending on claim documentation, inspections, and complexity. You’ll speed approval by submitting complete records promptly and understanding your insurance deductible and policy requirements.
What Causes Mold to Appear After Water Damage Cleanup?
About 24–48 hours after moisture remains, you’ll see mold growth because hidden water retention persists in porous materials. You need thorough drying, containment, and verification, or you’ll leave spores active and your space unsafe.
Can Water Damage Affect My Home’s Resale Value Later?
Yes, water damage can lower your home’s resale value later if you don’t document repairs, address structural risks, and pass property inspections. You reduce resale concerns by verifying drying, remediation, and code-compliant restoration with professionals.
How Can I Prevent Future Indoor Flooding or Burst Pipes?
Prevent future indoor flooding or burst pipes by installing shutoff valves, maintaining appliances, sealing foundation cracks, and prioritizing flood prevention. Add pipe insulation in cold areas, inspect plumbing routinely, and you’ll strengthen your home’s safety.
Are There Government Programs That Help Cover Water Damage Costs?
Yes—FEMA reports only presidentially declared disasters qualify for most federal assistance; you can also check SBA loans and state disaster relief. You’ll strengthen your recovery plan by documenting losses, verifying eligibility, and applying promptly together.
Review
Act fast and work methodically: stop the source, shut off power, document losses, extract water, dry every surface, sanitize thoroughly, and sort salvageable items from unsafe debris. Treat hidden moisture like rust in a circuit—it spreads damage if you miss it. If water reached wiring, insulation, or structural materials, don’t gamble with safety. Call restoration professionals when the scope exceeds your tools, time, or training, and you’ll limit damage, cost, and health risks.