
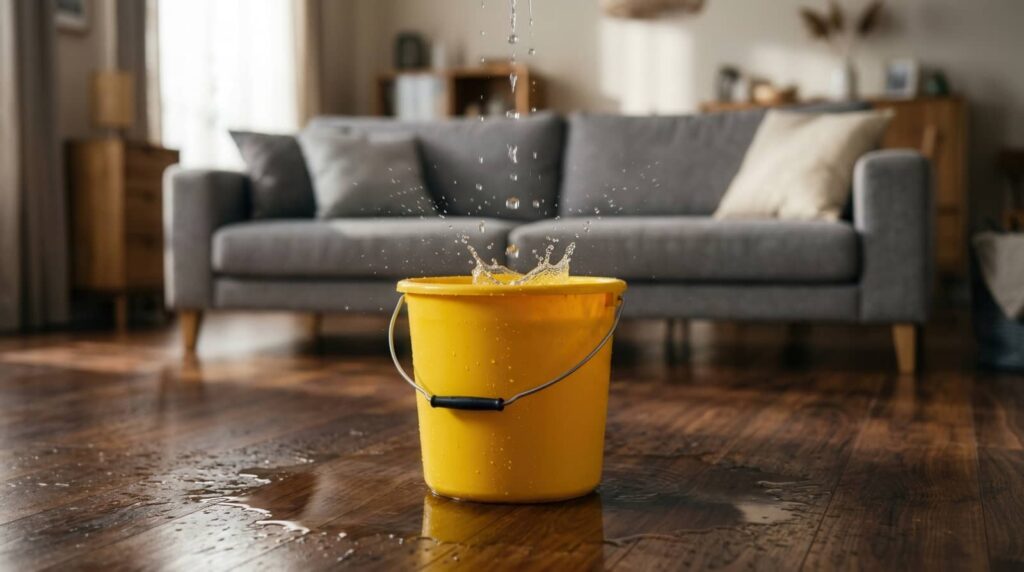
When water damage hits, you need a clear sequence to limit loss and prevent hidden structural issues. Start by stopping the source and evaluating electrical and slip hazards. Then remove standing water, dry materials fast, and clear debris before contamination spreads. After that, clean, sanitize, and verify moisture levels before any repair begins. Miss a step, and you can trap damage where you won’t see it until much later.
Key Takeaways
- Stop the water source immediately and shut off electricity in affected areas to reduce hazards and prevent further damage.
- Remove standing water quickly using pumps or wet vacuums, then increase airflow with fans to speed drying.
- Dry all materials thoroughly and confirm moisture levels in walls and floors with a moisture meter before repairs.
- Clean and disinfect affected surfaces, and remove unsalvageable porous materials to prevent mold and contamination.
- Document all damage with photos and contact a licensed plumber, restoration professional, and insurer when needed.
What to Do First After a Burst Pipe
Shut off the water supply immediately, then cut power to any affected areas if water is near outlets, appliances, or electrical panels.
Your first emergency response should follow a clear sequence: protect people, stop flow, and isolate hazards. Wear non-slip shoes and gloves, and keep everyone, including pets, out of the area.
Next, locate the burst section only if you can do so safely. Open nearby faucets to relieve pressure in the plumbing line. If temperatures are low, note any freezing risks for adjacent pipes.
Take photos and document visible damage for your insurer and plumber. Call a licensed plumber right away, and report the issue to your insurer if needed.
These safety precautions help your household stay coordinated, protected, and ready for the next restoration step.
Dry Out Water Damage and Remove Debris
Once the leak is contained and hazards are isolated, start drying the area without delay to limit structural swelling, corrosion, and mold growth. Use pumps, wet vacuums, and absorbent towels to remove standing water, then open airflow paths with fans positioned to move moisture outward safely.
Next, sort and remove saturated debris, including insulation, cardboard, rugs, and warped trim that can trap hidden moisture. Wear gloves, boots, and respiratory protection if dust or contaminated residue is present.
Check wall cavities, subfloors, and baseboards with a moisture meter so your team doesn’t miss damp pockets. Prioritize dehumidifier usage to pull humidity from the air and support mold prevention.
Bag debris promptly, keep pathways clear, and document removed materials so everyone involved can coordinate the next restoration steps efficiently together.
Clean Up, Sanitize, and Start Repairs
Disinfect all affected surfaces after bulk water and debris are removed, using a cleaner or biocide matched to the water category and material type.
Wear gloves, eye protection, and respiratory protection, and maintain ventilation while you work. You’ll want to scrub porous and nonporous materials differently, then rinse only where product directions allow.
Next, document conditions, discarded items, and treatment steps with dated photos and notes to support insurance claims and keep your restoration team aligned.
Remove unsalvageable drywall, insulation, and flooring to stop contamination and support mold prevention.
After sanitation, verify dryness with moisture meters before closing cavities or reinstalling finishes.
Then start repairs systematically: replace structural components first, restore substrates, and seal repaired areas.
Frequently Asked Questions
How Much Does Professional Water Damage Restoration Typically Cost?
You’ll typically pay $1,300-$6,000 for professional water damage restoration costs, though severe water damage can exceed $10,000. You should schedule inspection, mitigation, drying, and sanitization quickly, so you protect your home and community safely.
Will Homeowners Insurance Cover Water Damage From a Burst Pipe?
Yes—because pipes always burst at convenient times, your insurance coverage often applies if the damage is sudden and accidental. You should verify exclusions, document losses, mitigate hazards, and maintain pipe maintenance records to support safer, stronger claims.
How Long Does Water Damage Restoration Usually Take?
You can expect water damage restoration to take 3–7 days for minor losses, or weeks for major damage. Your water damage timeline depends on restoration factors like moisture levels, contamination, material type, and safe drying verification.
Can Water Damage Cause Mold After Everything Looks Dry?
Yes—like embers under ash, hidden moisture can spark mold growth after surfaces seem dry. You should inspect cavities, monitor humidity, and eliminate water sources quickly, so you protect your space and everyone in it.
How Can I Prevent Future Water Damage in My Home?
Inspect your roof, plumbing, seals, and drainage regularly for water leakage prevention. Install leak detectors, maintain gutters, and improve grading. You’ll also need humidity control through ventilation, dehumidifiers, and prompt repairs to protect your home.
Review
Coincidentally, the same three actions that stop immediate loss also determine whether your restoration holds up months later. First, you shut off the source and assess hazards. Next, you extract water, remove debris, and force dry the structure with controlled airflow. Then you clean, sanitize, document, and verify dryness with moisture meters before repairing damaged components. If you follow each step methodically, you won’t just restore the area—you’ll reduce risk, protect stability, and support your claim.