
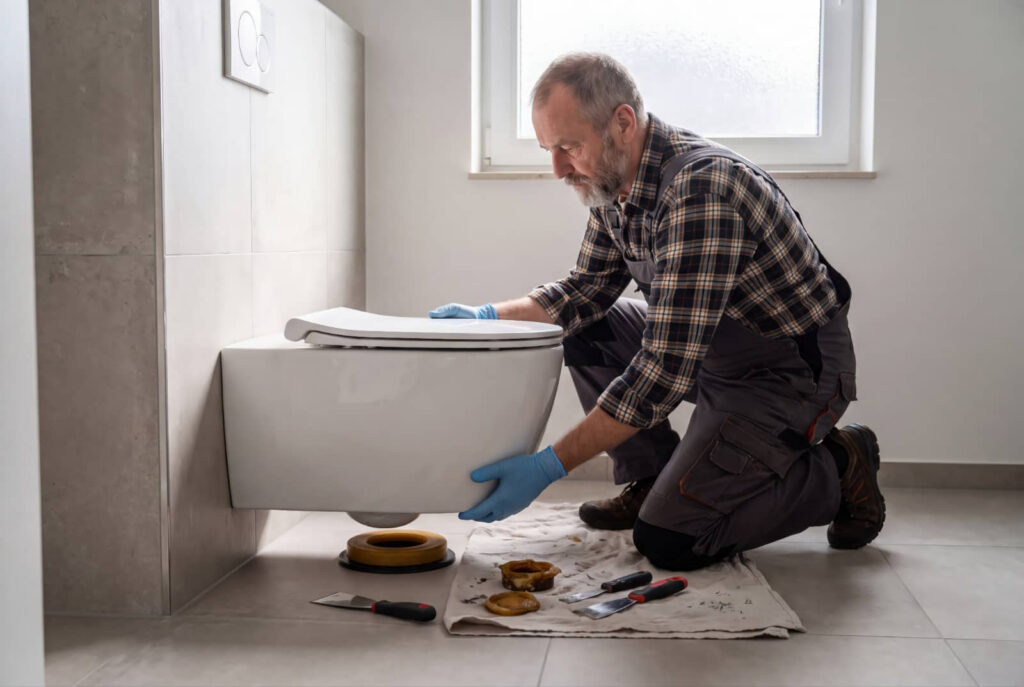
Sewage water damage demands a controlled response because it can carry pathogens, waste, and chemicals that spread through flooring, walls, and other materials. Restore sewage water damage by first assessing whether the area is safe to enter, stopping the source, and using proper protective gear. From there, each step matters, from removing contaminated water to disinfection and drying. Missing a step can leave contamination hidden where you least expect it, increasing health risks and making restoration more difficult.
Key Takeaways
- Assess contamination first; wear gloves, boots, goggles, and a respirator, and avoid DIY cleanup if damage is extensive or hazardous.
- Stop the sewage source by shutting off fixtures or the affected line and halt water use until the backup cause is identified.
- Remove sewage water and contaminated debris with approved pumps, wet vacuums, and sealed disposal bags using a clean-to-dirty workflow.
- Clean nonporous surfaces with hot water and detergent, disinfect thoroughly, and dry quickly with fans, dehumidifiers, and moisture removal.
- Call certified restoration professionals for severe sewage damage, proper containment, complete drying, and documentation that supports insurance claims.
Decide If You Can Clean It Safely
Before you start cleanup, determine whether the sewage damage falls within a safe do-it-yourself scope. Perform a safety assessment before entering affected areas. If contamination covers more than a small, isolated space, involves HVAC systems, or contacted porous materials for over 24 hours, you should call a certified restoration team.
Check for health risks that make DIY cleanup unsafe. Don’t enter if you suspect electrical hazards, structural weakening, mold amplification, or aerosolized waste.
Wear proper PPE only if conditions remain stable: gloves, boots, eye protection, and a respirator rated for bioaerosols. You also need current tetanus protection.
You protect your household and your community when you respect these limits. If anyone in your home is immunocompromised, elderly, pregnant, or very young, professional remediation is the safer, responsible choice.
Stop the Sewage Source
Once you’ve confirmed the area is safe enough to approach, stop the sewage flow at its source immediately to limit contamination and reduce further damage.
Shut off nearby fixtures first, then isolate the affected line if your system allows it. If a toilet is overflowing, close the supply valve behind the fixture by turning it clockwise. For broader backups, stop water use throughout the building and locate the main shutoff.
Next, identify whether the problem stems from an internal drain blockage, a broken supply line, or a municipal sewer backup.
Document what you observe so your household or response team stays coordinated. These steps support effective sewage prevention strategies and practical plumbing maintenance tips, helping you protect shared spaces and restore order before cleanup begins safely.
Put On Protective Gear
After you’ve stopped the sewage source, put on proper personal protective equipment before entering the affected area.
Start with a hazard assessment so you understand exposure points, contamination levels, and immediate health risks. Wear protective clothing that covers your skin completely, then add protective gloves rated for chemical and biohazard contact.
Fit safety goggles snugly to seal your eyes from splashes and aerosols. Next, secure a respirator mask appropriate for sewage contaminants, and check the seal before stepping inside.
Inspect every item for tears, gaps, or saturation that could compromise protection. Follow your team’s cleanup protocols exactly so everyone works to the same safety standard.
Before leaving the space, prepare for decontamination procedures to prevent cross-contamination and protect the rest of your home and team members.
Remove Sewage Water and Waste
Next, you’ll extract sewage waste using approved tools and sealed containers to limit contact and prevent cross-contamination.
You must remove contaminated water with a pump or wet vacuum rated for hazardous cleanup, then isolate all affected materials.
After that, you’ll collect and bag debris in heavy-duty disposal bags, keeping waste separated for proper handling and disposal.
Safe Waste Extraction
Begin waste extraction only after you’ve isolated the area and put on full PPE, because raw sewage can contain bacteria, viruses, and sharp debris.
Follow site safety protocols, assign a clean-to-dirty workflow, and stage sealed containers before handling solids. You’ll protect your team and keep waste management organized.
Use shovels, scoops, and puncture-resistant bags to collect fecal matter, sludge, soaked paper, and visible debris.
Don’t compress bags; overpacking increases puncture risk. Double-bag loads, seal them tightly, and label them for regulated disposal under local requirements.
Keep traffic limited to designated paths, and disinfect tool exteriors between loads to prevent spread.
As you work, inspect for hidden sharps, damaged flooring, and compromised fixtures.
Document quantities removed and container counts so everyone stays aligned and accountable.
Contaminated Water Removal
Once you’ve cleared the bulk waste, remove standing sewage water immediately to limit saturation, microbial spread, and secondary damage to subfloors, wall cavities, and contents.
Use a pump, wet vacuum, or extractor rated for blackwater, and discharge according to local regulations. You’re protecting your space and everyone working beside you.
- Isolate power, then verify PPE seals before entering affected zones.
- Extract from the lowest point first, tracking contamination sources and flow paths.
- Document depth, duration, and room conditions to support water testing and remediation decisions.
Work methodically, keeping clean and dirty zones separate to prevent cross-contamination.
Don’t agitate water unnecessarily, because splashing aerosolizes pathogens.
If extraction slows, reassess hidden pooling beneath flooring or behind baseboards so your team restores the structure safely and confidently together.
Debris Collection Steps
Collect solid waste and damaged porous debris immediately after extraction so contaminants don’t wick deeper into flooring, framing, and contents.
You’ll sort debris types first: fecal matter, paper goods, insulation, carpet pad, and swollen particleboard.
Wear gloves, boots, eye protection, and a respirator before debris removal begins.
Bag loose waste in 6-mil poly, double-bag saturated contents, and seal each load before transport through clean areas.
Cut out unsalvageable porous materials at least 12 inches above the visible waterline when contamination spread is uncertain.
Stay alert to debris hazards, including sharps, biological residue, and hidden trip points under silt.
Use dedicated tools, maintain a dirty-to-clean workflow, and disinfect handles after each pass.
Follow local rules for debris disposal so your work protects everyone on site.
Discard Sewage-Soaked Porous Items
Because sewage carries bacteria, viruses, and persistent contaminants deep into absorbent materials, you should discard any porous item that’s been saturated, including carpet padding, upholstered furniture, mattresses, insulation, paper goods, and unsealed wood composites.
To protect everyone in your household, follow clear disposal guidelines and treat all compromised porous materials as non-salvageable waste.
- Wear gloves, boots, eye protection, and a respirator before handling items, and avoid compressing debris, which can release contaminated moisture and particulates.
- Double-bag smaller items in heavy-duty plastic; wrap large pieces in polyethylene sheeting, then seal seams tightly with durable tape.
- Move bagged waste directly to an approved collection point, label it if required, and document quantities for insurance, contractor coordination, and community compliance.
Clean and Disinfect Hard Surfaces
Scrub all nonporous and semi-porous surfaces that contacted sewage with hot water and a detergent or degreasing cleaner to remove visible soil before you disinfect, since organic residue can block disinfectants from working effectively.
Then wash again using clean cloths or disposable wipes, changing them often to avoid spreading contamination.
Apply one of the effective disinfectants listed on the product label for sewage or biohazard cleanup, and keep the surface visibly wet for the full contact time.
Pay close attention to seams, grout lines, corners, and textured finishes where residue can persist.
For hard surface materials such as concrete, tile, metal, vinyl, and sealed wood, follow manufacturer instructions to prevent damage.
As you work, you’re protecting your household and doing this restoration step the way responsible cleanup teams do.
Dry the Area Fast
Once you’ve disinfected the affected surfaces, dry the area immediately to limit microbial growth, material swelling, and odor absorption. You need a controlled drying setup so your home returns to a safe, stable condition quickly.
Follow a disciplined sequence:
- Remove standing moisture with a wet vacuum, absorbent towels, or extraction equipment.
- Start airflow improvement by opening windows, if weather allows, and positioning fans to create cross-ventilation without spreading debris.
- Begin dehumidifier usage at once, empty reservoirs regularly, and monitor humidity until materials reach normal indoor levels.
Lift rugs, separate movable items, and expose wall bases, subfloors, and cabinetry toe-kicks.
If insulation, drywall, or particleboard stayed saturated, isolate those materials from dry zones.
Call a Sewage Cleanup Pro
You should call a sewage cleanup pro immediately, because fast emergency response limits contamination spread and reduces structural damage.
Certified technicians use proper containment, PPE, sanitation, and moisture-control procedures to restore the area safely and to code.
They can also document the loss, track remediation steps, and help you support a complete insurance claim.
Emergency Response Timing
Because sewage contains Category 3 contaminants that can spread quickly through porous materials and HVAC pathways, you should call a certified sewage cleanup professional as soon as you identify the intrusion. Fast action supports your emergency preparedness and keeps your household aligned with a clear response plan.
- Shut off power to affected areas if it’s safe, and restrict access immediately.
- Stop water flow when possible, then document visible damage and contamination boundaries.
- Increase ventilation only if it won’t circulate contaminants through shared air systems.
You protect everyone better when you report the event early, before saturation expands into subfloors, insulation, and wall cavities.
Prompt notification also helps coordinate safer occupancy decisions, reduce exposure duration, and limit cross-contamination in adjoining rooms. Acting quickly keeps your home team safer together overall.
Certified Cleanup Expertise
Fast reporting works best when it leads directly to a certified sewage cleanup professional who can assess hazards, contain the affected zone, and start decontamination under industry-standard procedures.
You need a team trained in pathogen control, moisture mapping, and structural drying so your home returns to a safe baseline.
A qualified pro follows a documented certification process and applies recognized cleanup standards at every step.
They’ll isolate contaminated materials, establish negative air pressure when needed, remove sewage solids, disinfect affected surfaces, and verify drying targets with calibrated meters.
You should expect proper personal protective equipment, cross-contamination controls, and clear safety communication throughout the job.
When you bring in certified expertise, you’re not handling a risky loss alone—you’re working with specialists who protect your household, respect your space, and restore conditions methodically.
Insurance Claim Assistance
When sewage loss affects insured property, a cleanup pro can document conditions in a way that supports your claim and speeds carrier review. You need accurate moisture readings, contamination photos, and itemized scopes so the claims process stays factual, traceable, and safer for everyone involved.
- You get timestamped evidence, loss diagrams, and disposal records that align with carrier requirements.
- You receive direct communication support, including cause-of-loss notes, drying logs, and sanitation verification.
- You understand coverage limits sooner, helping you separate emergency mitigation from noncovered repairs.
Frequently Asked Questions
How Long Does Sewage Odor Typically Linger After Cleanup?
You’ll typically notice sewage odor fade within 24 hours to several days after cleanup, but severe contamination can linger weeks. Use odor removal techniques, verify drying, and apply lingering scent solutions to keep your environment safe.
Will Homeowners Insurance Cover Sewage Water Damage Restoration Costs?
Yes—like opening Pandora’s box, you’ll often find homeowners insurance covers sewage restoration only for sudden, covered events. Check coverage limits, document contamination, follow the claims process precisely, and verify exclusions with your insurer immediately.
Can Sewage Contamination Affect My Home’s HVAC System?
Yes, sewage contamination can affect your home’s HVAC system; contamination effects spread through ducts, coils, and filters. You should shut it down, isolate affected areas, schedule professional cleaning, testing, and HVAC maintenance before restarting safely.
What Health Symptoms Should Prompt a Doctor’s Visit After Exposure?
An ounce of prevention beats a pound of cure: seek medical care if you develop fever, vomiting, diarrhea, worsening infection symptoms, respiratory issues, dizziness, confusion, or rash after exposure; you’ll protect yourself and your household.
How Can I Prevent Future Sewage Backups in My Home?
Install a backwater valve, schedule regular plumbing maintenance, avoid flushing grease or wipes, inspect sewer lines, and grade soil away from your foundation. You’ll strengthen sewage backup prevention and help keep your home protected and compliant.
Summary
Restore sewage damage methodically: verify you can work safely, stop the source, gear up, extract waste, discard contaminated porous materials, disinfect all hard surfaces, and dry everything fast. If you’re tempted to save time by keeping lightly soaked items or delaying drying, don’t—pathogens and hidden moisture can create serious health risks and secondary damage. When contamination is extensive or reaches structural cavities, call a certified sewage remediation professional to complete the job safely and document losses properly.