
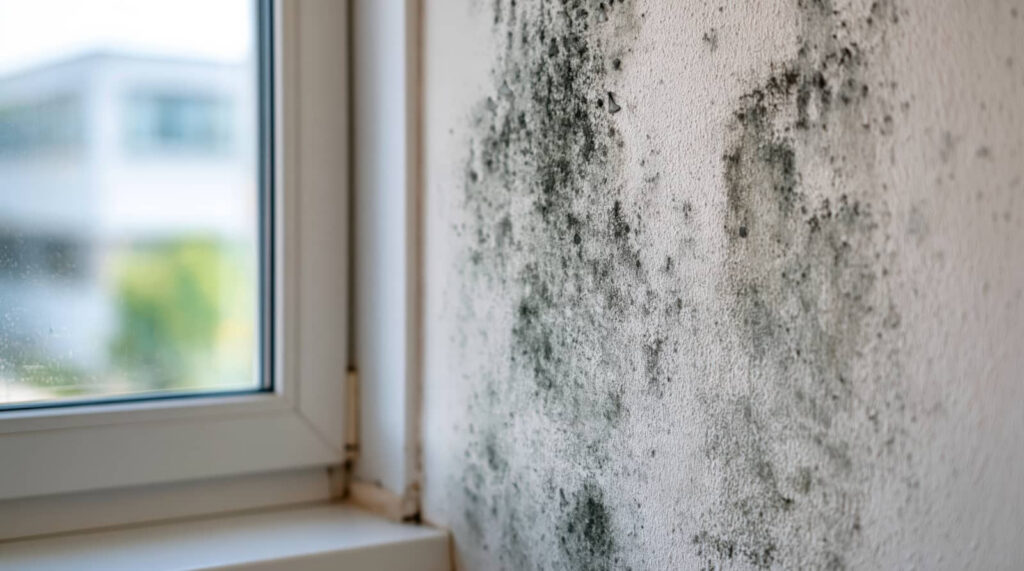
Most Mold After Pipe Leaks starts inside cavities you can’t see, often within 24 to 48 hours. If you don’t control moisture quickly, drywall, carpet, and insulation can hold enough water to support hidden growth. You need a clear response: stop the leak safely, remove standing water, dry the area completely, discard wet materials, and inspect surfaces for contamination. The next steps determine whether you prevent mold or create a larger remediation problem.
Key Takeaways
- Shut off the leaking water source immediately and document the affected area before damage spreads into walls, floors, or cabinets.
- Remove standing water fast using towels, mops, or extraction tools, and clear out soaked rugs, paper goods, and movable items.
- Dry the area within 24–48 hours using fans, dehumidifiers, and airflow into corners, cavities, and under furniture.
- Remove wet drywall, insulation, carpet, and padding promptly, especially if materials stayed soaked longer than 24 hours.
- Clean and fully dry hard surfaces, then inspect for musty odors, stains, or visible mold in hidden edges and corners.
Stop the Pipe Leak Safely
Act fast: shutting off the water source is the first step to limit moisture spread and reduce the risk of mold growth after a pipe leak. Close the nearest fixture valve first; if that fails, shut off your home’s main supply immediately.
Then cut power to nearby electrical circuits if water approaches outlets, appliances, or wiring. Wear gloves, eye protection, and slip-resistant shoes before you inspect the damaged section.
Confirm the leak’s source without disturbing surrounding materials more than necessary. Use towels to trace drips, check fittings, joints, and supply lines, and document damage for repair planning.
Effective leak detection helps you isolate failures quickly and prevent hidden saturation. As part of strong pipe maintenance, inspect corrosion, loose connections, and pressure issues so your home stays protected and your household stays confident.
Remove Standing Water Fast
Move quickly to extract standing water, because mold can begin developing within 24 to 48 hours on wet drywall, wood, insulation, and flooring. Your emergency response should focus on controlling spread, limiting material saturation, and protecting shared spaces your household depends on.
Shut off electricity to affected rooms before using pumps or wet vacs.
Use proven water removal techniques, including extraction vacuums, mops, and absorbent towels.
Remove soaked rugs, paper goods, and movable items from the wet zone immediately.
Work from the leak source outward so you don’t push water into unaffected areas. Check under baseboards, cabinets, and furniture where water pools unnoticed.
If water reached multiple rooms or structural cavities, call a restoration professional fast. Acting decisively helps your home stay safer, cleaner, and easier for everyone to protect.
Dry the Area Within 24–48 Hours
Once you’ve removed standing water, you need to dry the affected area within 24 to 48 hours to interrupt mold growth and limit damage to drywall, framing, subfloors, and insulation.
Start fans immediately, open interior air pathways, and run dehumidifiers continuously to support humidity control. If outdoor conditions are dry, crack windows briefly for ventilation improvement, but don’t pull in damp air.
Use a moisture meter to track progress instead of guessing; target dry, stable readings before you consider the area safe. Wipe down hard surfaces, elevate furniture legs, and direct airflow into corners, under cabinets, and behind baseboards where moisture lingers.
Remove Wet Drywall, Carpet, and Insulation
Remove and discard porous materials that stayed wet, because drywall, carpet pad, and fiberglass insulation can trap moisture deep below the surface and support hidden mold growth even after the room feels dry.
For effective mold prevention, you need to cut out damaged sections beyond the visibly wet area and remove soaked padding and insulation completely. That approach strengthens moisture control and helps your home stay safe for everyone.
- Mark the water line and remove drywall at least 12 inches above it.
- Pull up carpet and pad if water soaked through or lingered beyond 24 hours.
- Bag wet insulation immediately, especially from exterior walls and ceiling cavities.
When you act decisively, you protect your indoor environment and show the kind of care responsible homeowners value and trust in every season.
Clean Surfaces and Check for Mold
Scrub all exposed hard surfaces with detergent and clean water, then dry them thoroughly so residual moisture and organic residue don’t give mold a place to take hold. This surface cleaning step removes nutrients that support growth and helps your space recover safely after a leak.
Next, inspect surrounding materials for discoloration, staining, musty odors, or fuzzy patches along baseboards, framing, and subfloors. Use a flashlight to check corners, joints, and hidden edges where moisture lingers.
If you find small spots, clean them promptly and dry the area completely. If contamination covers a larger section or returns, bring in a qualified remediation professional.
Consistent mold prevention depends on quick action, careful inspection, and verifying that every cleaned surface stays dry as your home gets back to normal together.
Frequently Asked Questions
How Much Does Professional Mold Remediation Typically Cost After a Pipe Leak?
You’ll typically pay $500–$6,000 for professional mold remediation after a pipe leak, though severe contamination can exceed that. You can reduce costs by applying mold prevention tips early and choosing validated remediation methods your community trusts.
Will Homeowners Insurance Cover Mold Damage Caused by Leaking Pipes?
Like a safety net, your homeowners insurance may cover mold damage from leaking pipes if the leak is sudden and accidental; you should verify insurance coverage exclusions and apply mold prevention tips to strengthen your protection.
Can Mold From a Pipe Leak Affect Pets and Children Differently?
Yes, mold from a pipe leak can affect your pets and children differently; you should monitor both closely. Children often face greater mold exposure health risks, while pets may show respiratory irritation or behavioral changes sooner.
What Signs Indicate Hidden Mold Behind Walls After Repairs Are Finished?
Most indoor mold stays unseen; you should watch for hidden mold signs like musty odors, recurring stains, peeling paint, and warping. You’ll strengthen prevention by using mold detection techniques, including moisture meters and infrared scans.
Should I Install a Leak Detection System to Prevent Future Mold Problems?
Yes, you should install a leak detection system; it gives you early alerts, supports moisture monitoring, and limits hidden water exposure. You’ll protect your home proactively, reduce mold risk, and follow a smart, prevention-first standard.
Summary
By stopping the leak, sweeping out standing water, and drying damp zones within 24–48 hours, you sharply shrink mold risk. Strip soaked drywall, carpet, and insulation before hidden humidity festers. Then clean hard surfaces and scan for specks, stains, or musty smells. Keep air moving and moisture monitored so conditions stay dry, disciplined, and mold-resistant. If you act fast and follow these preventive steps, you’ll protect your structure, indoor air, and repair budget from future fungal fallout.