
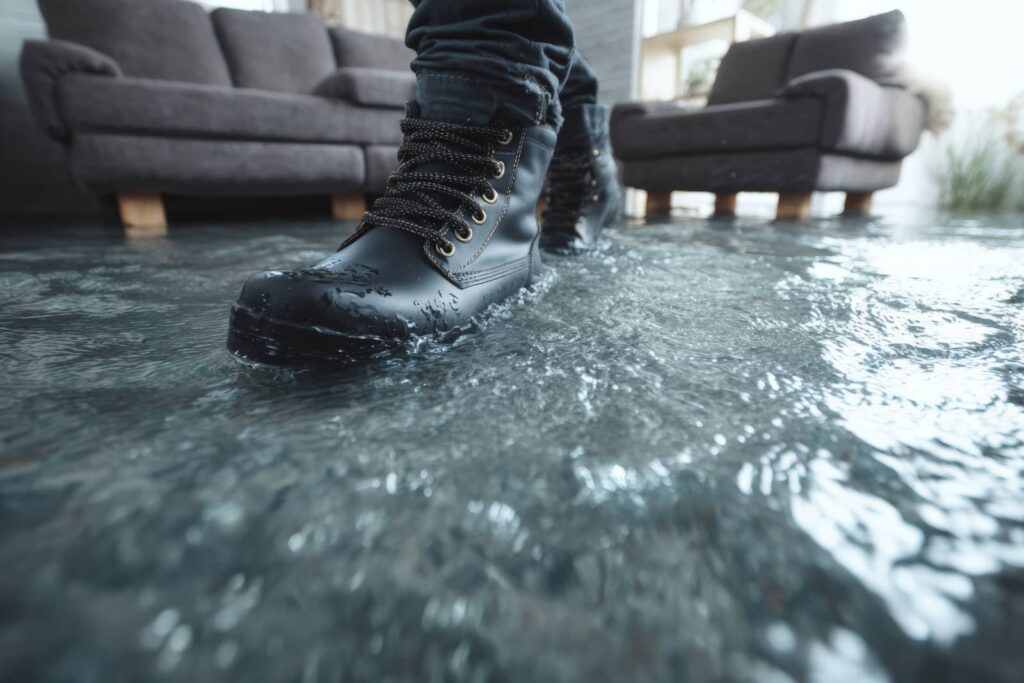
Most flood damage starts causing hidden structural and microbial problems within hours, not days. Before you touch anything, you need to cut power, stop the water source if possible, and decide whether the situation is safe to handle yourself. From there, your cleanup process has to follow a strict order to limit contamination, material loss, and mold growth. The next steps can determine whether your home is recoverable or considerably more costly to restore.
Key Takeaways
- Shut off electricity, wear rubber-soled shoes, and check for structural hazards before entering any flooded area.
- Remove standing water immediately with pumps or a wet/dry vacuum to reduce damage and mold risk.
- Sort belongings into save, dry, or discard, and photograph damage for insurance before cleanup.
- Clean visible dirt first, then disinfect hard nonporous surfaces exposed to floodwater using proper protective gear.
- Dry the area with fans and dehumidifiers, monitor moisture daily, and call professionals for sewage or extensive mold.
Shut Off Power and Stop the Water
Before you begin any cleanup, shut off electrical power to the affected area and stop the water at its source, because standing water can conduct electricity and quickly turn a flooded room into a shock hazard.
Next, locate your breaker panel and switch off only the flooded circuit if you can reach it without stepping into water. Then close the nearest supply valve or the main shutoff to stop incoming flow.
Follow basic safety precautions: wear rubber-soled shoes, keep dry footing, and use a flashlight instead of plugged-in lighting.
If the source involves a burst pipe, appliance line, or sewer backup, document what you see and notify emergency contacts right away.
Decide If the Flood Damage Is Safe to DIY
Before you start cleanup, assess whether the area is safe for DIY work by checking for electrical hazards, weakened flooring, sagging ceilings, and compromised walls.
You should also identify the floodwater category, since sewage, chemicals, and other contaminants can make direct contact unsafe.
If materials stayed wet long enough for mold growth, you’ll need to weigh the exposure risk and decide whether professional remediation is the safer option.
Electrical And Structural Hazards
If floodwater reached outlets, appliances, the breaker panel, or any wiring, treat the area as energized until a licensed electrician verifies it’s safe. Don’t step into standing water or touch metal surfaces until power is isolated. For electrical safety, shut off utilities only if you can reach the main disconnect without entering wet areas. Use a flashlight, not candles, and keep everyone in your household outside affected rooms.
Next, assess structural integrity before you start cleanup. Flooding can weaken joists, subfloors, stair treads, drywall, and foundations.
Look for sagging ceilings, warped floors, shifted walls, cracked masonry, and doors that won’t close properly. If you see movement, leaning, or undermined supports, stop immediately.
You’re part of a safety-first community: when hazards exceed basic checks, call qualified professionals right away.
Contamination And Mold Risk
Even when a room looks manageable, contamination level determines whether you can clean it yourself safely. First, identify water category and likely contamination sources. Clean rainwater may be manageable briefly, but graywater from appliances or blackwater from sewage, rivers, or storm surge requires professional remediation.
If floodwater contacted insulation, HVAC ducts, porous flooring, or food storage, don’t treat it as a simple cleanup.
Next, evaluate mold risk by timing and materials. If moisture remained over 24 to 48 hours, assume growth has started inside drywall, subfloors, and framing cavities.
For mold prevention, you need rapid extraction, controlled demolition, drying equipment, and PPE. If you can’t isolate the area, disinfect correctly, and verify drying with moisture meters, you’re safer calling your restoration community’s trusted certified team.
Remove Standing Water as Fast as Possible
Once you’ve confirmed the area is safe to enter, remove standing water immediately to limit structural absorption, contamination, and mold growth.
You should prioritize water extraction by using the appropriate pump for high volumes and a wet/dry vacuum for residual pooling.
As you work, contain runoff and isolate affected zones so you don’t spread water into clean or undamaged areas.
Prioritize Water Extraction
The first 24 to 48 hours are critical, so you should remove standing water as fast as conditions safely allow. Before you enter, confirm structural stability, shut off electricity if reachable, and wear boots, gloves, and respiratory protection. Your goal is to reduce contamination spread, material saturation, and microbial growth.
Work methodically from the least damaged area toward the heaviest pooling so you don’t track contaminants through the property. Separate salvageable items from porous materials that can’t be restored, and elevate belongings above the wet line.
Use disciplined water removal techniques as part of your emergency preparedness plan, documenting conditions as you go. When you act quickly and safely, you protect your home, support your household, and join responsible property owners who recover with confidence together.
Use Pumps And Vacuums
After you’ve secured the area and sorted contents, use pumps and wet/dry vacuums to remove standing water as fast as conditions allow.
Start with safety precautions: confirm power is isolated, wear boots and gloves, and test equipment before entry. In our emergency response community, disciplined water extraction protects both people and property.
Choose sump pumps for deeper pooling and vacuum cleaners for shallow residue. Work methodically, section by section, so you can verify progress and avoid missed pockets that worsen flood damage.
Monitor discharge rates, hose placement, and filter loading throughout operation. Good cleanup techniques also include equipment maintenance: empty tanks promptly, clear debris from intakes, and inspect cords, seals, and switches after each use.
Fast, controlled removal reduces hazards and keeps your team aligned, confident, and effective.
Prevent Further Spread
Because floodwater migrates quickly through joints, wall cavities, and floor assemblies, you need to remove standing water as fast as possible to limit spread, reduce structural saturation, and slow microbial growth.
Start by isolating unaffected rooms with water barriers and shutting off electricity to impacted circuits if it’s safe.
Work from the highest accessible area toward the lowest drain point so you don’t push contamination farther indoors. Use pumps, wet vacuums, and absorbent materials in sequence, then verify hidden migration along baseboards, under cabinets, and beneath floor coverings.
If conditions worsen, stop and bring in your restoration team; acting together protects everyone on site.
Document water lines, damaged contents, and containment steps for flood insurance claims. Quick, disciplined removal gives your home a safer, more stable recovery path forward.
Sort What to Save, Dry, or Throw Away
Once you’ve confirmed the area is safe to enter, sort flood-damaged items into three groups: save, dry, or discard.
Wear safety gear, then assess value, contamination level, and restoration options before touching anything. Prioritize personal records, medications, and sentimental belongings. Document damages with clear photos and itemized notes to support insurance claims and help your household stay organized.
- Mud-streaked photo albums stacked beside warped shelving
- A soaked rug releasing brown water with each careful lift
- Plastic bins holding damp personal records above a silt line
Save salvage items with nonporous surfaces or strong recovery potential.
Dry only items with limited contamination and stable structure. Discard porous materials, spoiled food, and anything carrying sewage exposure.
This step protects your space, supports shared recovery, and keeps everyone moving forward together safely.
Dry the Area With Fans and Dehumidifiers
Position high-volume fans to move air across wet floors, walls, and framing, then run dehumidifiers continuously to pull moisture from the air. Keep cords elevated, use GFCI-protected outlets, and avoid overloading circuits while equipment runs.
Your fan placement should create steady cross-ventilation without blowing directly into saturated insulation or hidden cavities.
Set dehumidifier settings to maintain aggressive moisture removal, and empty reservoirs or route drain hoses safely. Close windows and doors so outdoor humidity doesn’t slow progress.
Check moisture levels daily with a meter, focusing on subfloors, studs, and base materials. Rotate fans as surfaces begin drying, and document readings so your team can track improvement together.
Disinfect All Surfaces Touched by Floodwater
After you’ve removed standing water and started structural drying, disinfect every hard, non-porous surface that floodwater touched to reduce bacteria, viruses, and mold risk. Wear gloves, eye protection, and boots, then clean away visible soil before applying an EPA-registered disinfectant according to label directions. This step matters because floodwater contaminants can linger on counters, tile, metal, and sealed concrete.
A bleach-safe bucket, measured carefully, beside a row of muddy tools
Door handles, baseboards, and appliance exteriors wiped in steady, overlapping passes
Clean clothes bagged immediately, leaving the room sharper, brighter, safer
For effective surface sanitization, keep surfaces wet for the required dwell time, refresh dirty solution, and work from cleaner zones toward dirtier ones. By following a disciplined process, you’ll help protect your household and community.
Check for Mold and Know When to Call a Pro
Because mold can begin growing within 24 to 48 hours of flooding, you should inspect all affected areas early and document any musty odors, staining, or fuzzy growth on drywall, insulation, wood, and HVAC components.
Wear gloves, eye protection, and an N95 respirator before disturbing suspect materials. Use moisture meters to confirm hidden dampness behind baseboards and inside cavities.
For mold prevention, dry materials fast, discard porous items you can’t sanitize, and keep humidity below 60 percent. If growth covers more than about 10 square feet, enters HVAC systems, or follows sewage contamination, don’t handle it alone.
Request a professional assessment from a certified remediation contractor. By acting systematically and knowing your limits, you’ll protect your household and stay aligned with safe cleanup standards together.
Frequently Asked Questions
Does Homeowners Insurance Cover Flood Damage Cleanup Costs?
Usually, your homeowners insurance won’t cover flood damage cleanup costs; you’ll need separate flood insurance basics. You should verify coverage limits, document losses, and coordinate safe remediation fast so your household stays protected and informed.
How Long Does Flood Damage Restoration Usually Take?
Many restoration jobs finish within one to two weeks; your flood damage timeline depends on water category, materials, and drying conditions. You’ll move fastest when you follow a methodical, safety-focused restoration process together.
What Documents Should I Keep for Flood Damage Insurance Claims?
Keep photos, videos, repair estimates, receipts, policy records, inventory lists, inspection reports, contractor notes, and communication logs. You’ll strengthen the claim process with necessary documentation, support safe restoration decisions, and help your community verify losses accurately.
Can Flooded Appliances Be Repaired or Must They Be Replaced?
Usually, you’ll replace flooded appliances. For appliance safety, don’t power them on. Follow manufacturer repair guidelines, but trust certified technicians to inspect grounding, insulation, and contamination before any repair.
How Can I Prevent Future Flood Damage to My Home?
You can prevent future flood damage by installing drainage solutions, improving landscape grading, sealing foundations, elevating utilities, and maintaining gutters. You’ll strengthen your home’s defenses and protect your household with a methodical, safety-first approach.
Final Thoughts
Flood cleanup works best when you move in order: cut power, stop water, assess risk, remove standing water, sort contents, dry thoroughly, disinfect, and inspect for mold. Treat each step like links in a chain—if one fails, the whole recovery weakens. Document damage as you go, wear proper protection, and don’t gamble with sewage or hidden electrical hazards. When contamination or mold spreads beyond control, call a qualified restoration professional to protect your home and health.