
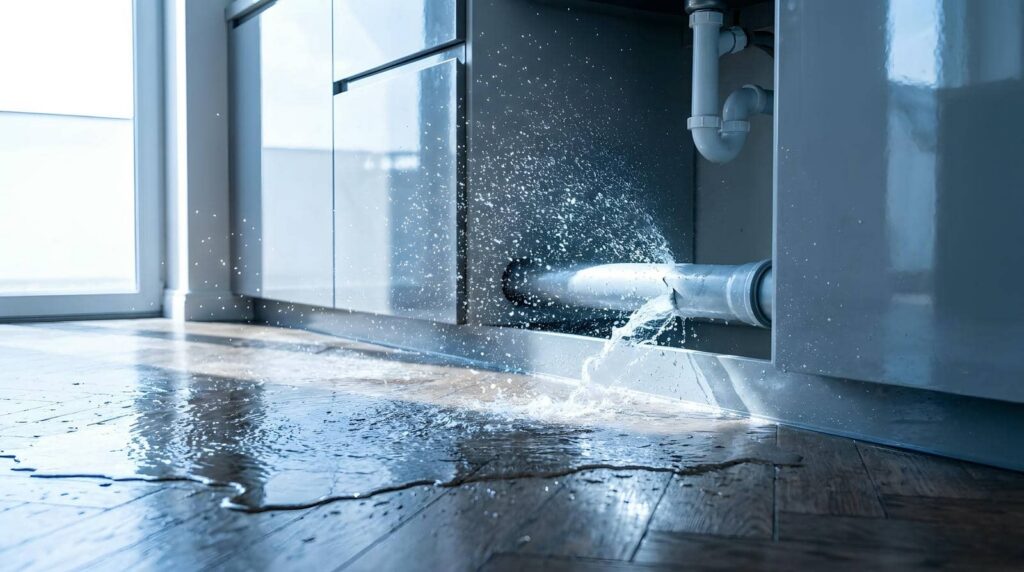
Burst Pipe Structural Drying is essential after a pipe bursts to prevent long-term structural damage and hidden moisture problems. Start by shutting off the water supply and power to affected areas, then remove standing water and saturated materials before the drying process begins. Professional structural drying uses controlled airflow, commercial-grade dehumidification, and moisture monitoring to dry walls, floors, and other hidden spaces thoroughly. Addressing moisture beneath the surface helps prevent mold growth, structural deterioration, and costly future repairs.
Key Takeaways
- Shut off the main water supply, isolate the damaged line, and turn off electricity if water is near outlets or appliances.
- Remove standing water quickly using a wet/dry vacuum or pump, and monitor discharge to prevent backflow or hose movement.
- Extract water from floors and remove soaked drywall, insulation, and other saturated materials that cannot dry effectively in place.
- Set up air movers and dehumidifiers, create airflow into cavities, and track moisture daily with meters or thermal imaging.
- Document damage for insurance and call licensed restoration professionals for hidden moisture, structural concerns, or large-scale drying needs.
Stop the Burst Pipe and Turn Off Power
Act fast: shut off the main water supply as soon as you discover the burst pipe, then isolate the damaged line if a local shutoff valve is available.
Open nearby cold-water faucets briefly to relieve pressure, and keep everyone clear of the affected area while you assess conditions safely.
Next, turn off electricity to impacted rooms at the main breaker if water is near outlets, cords, appliances, or the service panel.
Don’t step into pooled water to reach switches; use a dry path and insulated gloves, or call an electrician.
Tag the damaged section so your team can coordinate pipe repair without confusion.
If temperatures caused the break, reduce further stress by stabilizing indoor heat.
These immediate actions limit water damage, protect your household, and help everyone respond together with confidence and care.
Remove Standing Water After a Burst Pipe
Once you’ve stopped the pipe and shut off power, remove standing water immediately to reduce slip hazards and limit material damage.
Use a pump or wet vacuum to clear pooled water first, then extract moisture from floors with the appropriate equipment.
Keep your work area stable and monitor surfaces as you proceed, since saturated flooring can weaken quickly.
Pump Out Pooled Water
Start by shutting off power to any affected room at the breaker if water is near outlets, appliances, or extension cords. Then remove standing water with a wet/dry vacuum, submersible pump, or floor squeegee.
Position the pump at the lowest point where water collects, secure the discharge hose, and route it to a safe drain away from the structure. Monitor flow continuously so hoses don’t shift or backfeed. If sediment is present, clear intake screens often to maintain performance and protect equipment.
Use approved water extraction techniques and wear gloves, boots, and eye protection throughout the process. Work in teams when possible so someone can watch electrical hazards and equipment status.
If pooled water keeps rising or the source isn’t isolated, escalate to emergency plumbing solutions immediately for your safety.
Extract Water From Floors
Strip water from hard floors immediately with a wet/dry vacuum, auto-scrubber, or floor extractor so moisture doesn’t migrate into seams, baseboards, and subflooring.
Work in overlapping passes, keeping cords elevated and outlets GFCI-protected to reduce shock risk. As part of your water extraction methods, squeegee water toward collection points and empty tanks before they overflow.
For carpeted areas, use weighted extraction tools to pull water from face fibers, backing, and pad.
You’ll protect the structure better when you make slow, deliberate passes and verify recovery rates. Follow these floor drying techniques with moisture checks at junctions, under appliances, and along exterior walls.
If flooring delaminates, buckles, or remains saturated, isolate the area and escalate to specialized drying support so your team restores the space safely together.
Remove Wet Materials Before Drying
Clear the area of saturated materials before you run drying equipment, because wet carpet, padding, insulation, cardboard, and upholstered items can trap moisture and slow the process.
Prioritize wet material removal after extraction, and treat it as a controlled safety task. You should wear gloves, eye protection, and respiratory protection when contamination or fiberglass may be present.
Separate salvageable items from non-salvageable debris, then bag and remove affected contents promptly to prevent microbial growth and hidden moisture pockets.
Cut out soaked drywall, base trim, and insulation as needed to expose framing cavities for inspection. Document what you remove, keep pathways clear, and dispose of materials according to local requirements.
These drying techniques help your team create a cleaner, safer work zone and support faster structural drying.
Use Fans and Dehumidifiers the Right Way
Once you’ve removed saturated materials and exposed hidden cavities, position air movers and dehumidifiers to control evaporation without spreading moisture to unaffected areas.
Set fan placement to create consistent air circulation across wet surfaces, not directly into openings or dry rooms. Confirm airflow direction supports moisture removal toward dehumidifiers, and keep cords clear to reduce trip and electrical hazards.
Adjust dehumidifier settings to match room size, temperature, and humidity levels. You’ll get better environment control when you close exterior doors and windows and limit unnecessary traffic.
Monitor drying duration daily, empty collection tanks if required, and document performance so your team stays aligned. Follow manufacturer guidance for equipment maintenance, filter checks, and safe power loads.
These drying techniques help your crew work together efficiently and protect structural materials during restoration.
Check Walls and Floors for Hidden Moisture
Next, you’ll verify that walls and floors aren’t retaining hidden moisture by using a moisture meter on exposed surfaces and at suspect junction points.
You should also run thermal imaging checks to identify cooler areas that can indicate trapped water behind wall finishes or under flooring.
If readings or images show anomalies, inspect flooring layers and wall cavities promptly so you can contain damage and reduce mold and electrical risks.
Moisture Meter Testing
Use a moisture meter to verify whether water has migrated beyond the visible wet area into wall cavities, subfloors, and flooring materials. Start with a calibrated device, then compare affected areas to dry reference points nearby. This moisture measurement baseline helps you identify abnormal readings quickly and consistently.
Choose the correct mode for the material, and test in a grid pattern across walls, baseboards, and floors. Record each reading, mark boundaries, and watch for elevated values at seams, corners, and junctions.
For safe moisture detection, avoid probing energized assemblies until you’ve confirmed power is isolated. If readings remain high, continue drying and retest at scheduled intervals.
Thermal Imaging Checks
Thermal imaging adds a fast visual check that helps you spot temperature anomalies moisture meters may not map as quickly across large wall and floor areas.
- Scan methodically after stabilization for reliable temperature patterns.
- Compare suspicious cool zones with meter readings immediately.
- Mark anomaly edges so your team tracks progress consistently.
- Watch for electrical hazards before scanning near outlets.
- Document images to support drying adjustments and clearance.
Using infrared technology, you can quickly survey broad surfaces without opening materials.
These thermal imaging benefits help your crew identify hidden wet areas, prioritize verification, and reduce missed spots.
You should treat every anomaly as a lead, not proof, then confirm with direct readings.
That disciplined process keeps everyone aligned, protects safety, and supports efficient structural drying decisions daily.
Flooring And Wall Cavities
Two concealed zones demand immediate attention after a burst pipe: flooring assemblies and wall cavities. You should inspect both systematically because trapped moisture spreads fast, weakens materials, and supports microbial growth.
Use noninvasive meters first, then confirm wet areas with targeted openings where readings stay elevated.
Different flooring types hold water differently, so adjust your approach. Check carpet pad, hardwood seams, laminate edges, and subfloor layers for saturation.
In walls, test base plates, sheathing, and wall insulation, especially below the leak path. Remove wet insulation when it can’t dry in place.
Create airflow into cavities with controlled openings, inject dry air, and monitor daily until moisture levels return to documented dry standards.
Call a Pro for Severe Burst Pipe Damage
If water has soaked wall cavities, ceilings, electrical systems, or structural framing, call a licensed restoration or plumbing professional immediately. You need expert emergency response when contamination, hidden saturation, or collapse risks exceed safe DIY limits.
A qualified team protects your home and supports accurate insurance claims documentation too.
- Shut off water and power, if safe.
- Isolate affected rooms to limit spread.
- Request moisture mapping and thermal imaging.
- Ask for extraction, drying, and dehumidification plans.
- Photograph damage before demolition begins.
You’re part of a community that values safe, methodical recovery. Professionals can open concealed assemblies, verify drying goals, and monitor psychrometric conditions daily.
They’ll also identify mold risk, electrical hazards, and compromised framing so you can restore the structure correctly and reduce long-term repair costs.
Frequently Asked Questions
How Long Does Insurance Claim Processing Usually Take After Burst Pipe Damage?
You can expect your insurance claim timeline to take two to six weeks after burst pipe damage, though complex losses take longer. You’ll speed approval by documenting hazards, mitigating damage promptly, and confirming burst pipe coverage details.
Can I Stay in My Home During Structural Drying?
It depends—you can stay if home safety isn’t compromised during the drying process. Stay on the same page with technicians: isolate work zones, monitor humidity and air quality, and leave if electrical, mold, or contamination risks rise.
Will Burst Pipe Damage Increase the Risk of Mold Later?
Yes, burst pipe damage can increase your mold risk later if you don’t complete mold prevention and humidity control quickly. You should dry materials, monitor moisture levels, and remove contaminated items to protect your home.
How Much Does Professional Structural Drying Typically Cost?
You’ll typically pay $1,000–$4,000 for professional structural drying, though cost factors and pricing variations depend on moisture mapping, equipment runtime, affected materials, and containment needs. You protect your space best by getting documented assessments.
What Documents Should I Keep for Insurance Reimbursement?
Keep photos, videos, moisture readings, contractor estimates, invoices, drying logs, repair receipts, adjuster correspondence, and your policy. You’ll strengthen claim documentation, support the reimbursement process, and help your team verify safe, compliant restoration after losses.
Conclusion
Treat burst pipe drying like a race against time: first stop the source and cut power, then extract water, remove saturated materials, and drive evaporation with correctly placed air movers and dehumidifiers. Like following Ariadne’s thread through a maze, you’ll need moisture meters and thermal imaging to track hidden dampness in walls and floors. If damage runs deep or safety risks escalate, don’t improvise—bring in a qualified restoration professional to finish the job correctly and safely.