
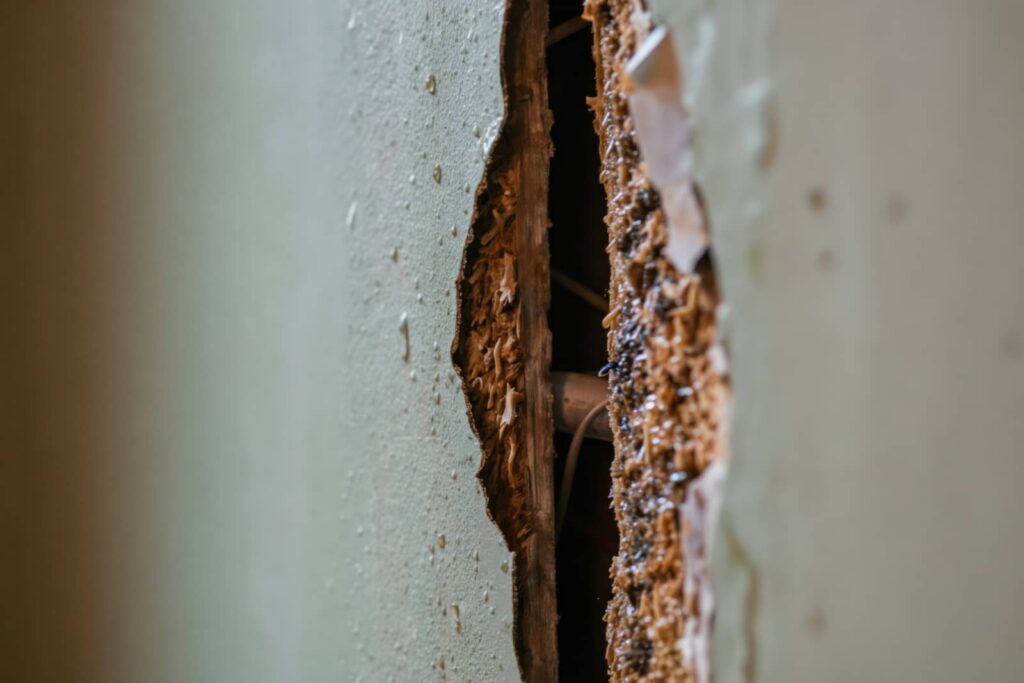
A plumbing ruptures can release hundreds of gallons in hours, turning a minor failure into a structural and sanitation risk. You need to shut off water and power fast, document the damage, and start extraction before moisture spreads behind walls and under floors. If you act early, you reduce mold exposure, material loss, and claim complications. The next steps determine whether your restoration stays controlled or becomes far more costly.
Key Takeaways
- Shut off the nearest valve or main water supply immediately, and cut power if water is near outlets or electrical equipment.
- Call a certified emergency water damage restoration company for rapid assessment, extraction, drying, and leak documentation.
- Move rugs, electronics, documents, and unaffected belongings to dry areas to prevent additional damage and simplify cleanup.
- Remove standing water quickly, then use air movers, moisture meters, and infrared tools to dry hidden moisture thoroughly.
- Clean and disinfect hard surfaces, inspect drywall and flooring, and verify materials are dry before repairs or closing cavities.
Stop the Burst Pipe Safely
Act quickly, but don’t put yourself at risk: if a pipe has burst, your first priority is to shut off the water supply at the nearest isolation valve or the home’s main shutoff valve.
If water is near outlets or appliances, cut power at the breaker only if you can do so without contact.
Next, relieve pressure by opening a cold tap downstream. Use gloves, boots, and emergency tools like a flashlight and adjustable wrench to support pipe safety.
Don’t touch damaged piping if you suspect heat, corrosion, or structural movement around the break.
Contain spread with towels or a bucket, and move valuables clear of the area.
If safe, photograph the damage for records. By staying calm and methodical, you protect your home and everyone in it together.
Call for Emergency Water Damage Restoration
Once you’ve stopped the pipe safely, you should call for emergency water damage restoration to start immediate response steps and limit moisture spread.
You can expect 24/7 emergency dispatch, rapid site assessment, and compliant mitigation procedures that protect your property and support a safe restoration process.
Acting quickly helps you prevent further damage to structural materials, electrical systems, and indoor air quality.
Immediate Response Steps
Start by contacting a certified emergency water damage restoration provider as soon as you identify active water intrusion, standing water, or rapid material saturation.
While help is mobilizing, shut off the nearest water supply valve if it’s safe, and disconnect electricity to affected zones through the breaker panel. Don’t enter rooms with energized water.
Next, document visible damage with photos, move unaffected belongings to a dry area, and place aluminum foil under furniture legs to reduce transfer.
You should also support water leak detection by noting likely rupture points, appliance connections, and recent plumbing maintenance history.
Open cabinet doors, improve airflow if conditions allow, and avoid using household vacuums or unapproved heaters.
These actions help your restoration team work efficiently, protect your property, and keep everyone aligned around a safer recovery process.
24/7 Emergency Dispatch
When water intrusion continues after hours or spreads beyond a controllable area, you should call a 24/7 emergency water damage restoration provider immediately to trigger dispatch, limit secondary damage, and protect occupant safety.
During intake, you’ll report the rupture source, affected rooms, utility status, and visible hazards so the coordinator can activate emergency protocols and assign the right crew.
This rapid response process helps your team arrive with extraction units, moisture meters, containment materials, and PPE matched to site conditions.
You can expect documented communication, estimated arrival windows, and clear instructions that support compliance, safety, and continuity.
Preventing Further Damage
After emergency dispatch is in motion, your next priority is preventing further damage by stopping active water migration, isolating hazards, and protecting materials that can still be saved.
Shut off the main supply if it’s safe, then disconnect electricity to affected zones through your breaker panel. Move rugs, documents, electronics, and upholstered items to a dry area. Place aluminum foil or blocks under furniture legs to limit staining and wick-up.
If water is contaminated, avoid direct contact and restrict access until technicians arrive. Open interior doors for airflow, but don’t run HVAC unless cleared.
These practical water prevention tips help stabilize conditions fast. As part of your community-minded response, follow proven plumbing maintenance strategies afterward, including pressure checks, hose inspections, and valve testing, to reduce recurrence and support compliant restoration outcomes.
Inspect the Burst Pipe Damage
Before you begin cleanup or repairs, inspect the burst pipe damage methodically to confirm the water source, identify affected materials, and document the full extent of the loss.
Use proven pipe inspection techniques to trace the rupture path, verify shutoff effectiveness, and note any secondary leaks.
Check nearby drywall, insulation, flooring, cabinetry, and structural framing for staining, swelling, warping, corrosion, or microbial risk indicators.
Use moisture meters, infrared cameras, and other damage assessment tools to map affected zones without unnecessary demolition.
Photograph each area, record material conditions, and separate visibly compromised contents from unaffected items.
If utilities were exposed, confirm electrical and gas safety before anyone reenters work areas.
This disciplined inspection helps you act confidently, supports insurance documentation, and keeps your restoration team aligned from the start.
Remove Standing Water Fast
Once you’ve documented the affected areas and confirmed the water source is controlled, remove standing water immediately to limit material saturation, microbial growth, and structural deterioration.
Prompt action helps you reduce standing water hazards and keeps the restoration process aligned with accepted safety practices. Use appropriate water extraction techniques based on depth, room size, and contamination level, and don’t enter energized areas.
Focus on these priorities:
- Shut off electrical circuits serving wet zones before contact.
- Use pumps, wet vacuums, or extraction mats to remove pooled water efficiently.
- Isolate affected contents so water doesn’t spread into adjacent materials.
You’re protecting your home and everyone in it by acting decisively.
If water is contaminated, wear protective gear and follow local disposal requirements. Fast extraction supports safer, more controlled recovery.
Dry and Dehumidify Your Home
Because moisture trapped in building materials can continue to cause swelling, corrosion, and microbial growth even after visible water is gone, you need to dry and dehumidify your home without delay.
Open airflow paths, position air movers strategically, and run refrigerant or desiccant units sized for the affected cubic footage. Use moisture detection tools to verify conditions inside drywall, subfloors, insulation, and framing.
You’ll get better results when you isolate wet zones, maintain controlled temperature, and document readings regularly. Proven dehumidification techniques reduce relative humidity, shorten drying time, and help keep restoration aligned with industry standards and insurer expectations.
As you monitor progress, aim for dry goals based on unaffected materials in your home. That way, you’ll know your space is returning to a stable, safe condition your household can trust.
Clean and Sanitize Affected Areas
Once you’ve dried the space, you need to clean and sanitize all affected surfaces using approved disinfectants and proper contact times.
You should also address hidden moisture, persistent odors, and contamination sources so mold doesn’t take hold.
Surface Disinfection Steps
Start by washing all hard, non-porous surfaces with soap or detergent and clean water to remove visible soil. Then apply an EPA-registered disinfectant labeled for water-damaged areas and follow the product’s required dwell time, dilution, and ventilation instructions.
To keep your workspace compliant and safe, focus on these essentials:
- Complete surface cleaning before disinfection, because residue can reduce effectiveness.
- Use approved sanitation products only as labeled, and never mix chemicals.
- Change gloves, cloths, and rinse water often to prevent cross-contamination.
You should wipe high-touch points, tools, and temporary barriers in a clean-to-dirty sequence.
If an item can’t be adequately cleaned and disinfected, set it aside for proper disposal.
Odor And Mold Control
Address odors and mold risk promptly by removing wet debris, drying affected materials to recommended moisture levels, and cleaning all impacted areas with appropriate antimicrobial or mold-control products used strictly according to label directions.
You protect your home and everyone in it when you act fast and follow documented drying targets.
After cleanup, verify moisture with calibrated meters, then sanitize hard surfaces and evaluate porous materials for replacement if contamination persists.
For effective odor removal, you should ventilate enclosed areas, replace saturated insulation, and clean HVAC components if they were exposed.
These steps support mold prevention and help restore a safe, welcoming space you can trust.
If conditions suggest hidden growth, you should arrange a qualified inspection so your restoration plan stays compliant, thorough, and reassuring for your household and your community.
Repair Damaged Walls and Floors
Two areas usually need the closest evaluation after water intrusion: wall assemblies and flooring systems. You should inspect drywall, framing, wall insulation, subfloors, and finish materials for swelling, delamination, staining, and loss of structural integrity.
Fast, code-aware repairs help you restore safe, uniform surfaces and keep your home feeling like home.
Prioritize repairs in this order:
- Remove saturated drywall, baseboards, and compromised wall insulation to stop hidden deterioration.
- Verify moisture content in studs and subfloors, then dry materials to acceptable levels before closing cavities.
- Replace finishes with compatible flooring options and wall materials that match load, moisture, and indoor-air requirements.
When you repair thoroughly, you reduce future movement, microbial risk, and finish failure.
That gives your household a cleaner, safer, more dependable living environment overall.
Choose the Right Restoration Team
Because water damage can escalate quickly, you need a restoration team that can assess conditions accurately, document losses clearly, and follow recognized drying, cleaning, and repair standards.
Verify restoration credentials, licensing, insurance, and IICRC-aligned procedures before work begins. You should also ask how they monitor moisture, prevent cross-contamination, and support insurer documentation requirements.
When you compare providers, look for strong team experience with plumbing ruptures, structural drying, and material-specific restoration.
A qualified team will explain the scope, timelines, containment measures, and clearance criteria in plain language, so you feel informed and included throughout the process.
They’ll coordinate trades, maintain safety protocols, and keep records that protect your property interests.
Choosing a capable, compliant partner helps your home recover faster and helps you regain confidence in your space.
Frequently Asked Questions
Will My Homeowner’s Insurance Cover Plumbing Rupture Restoration Costs?
Yes, your homeowner’s insurance may cover plumbing rupture restoration costs if your insurance policies include sudden, accidental water damage; you’ll need to verify exclusions, deductibles, and coverage limits, so you can confidently align your claim with policy terms.
How Long Does Water Damage Restoration Usually Take After a Burst Pipe?
Usually, you’ll see restoration take 3–7 days; the common theory holds true when water extraction starts immediately and structural drying follows standards. You’re better protected when your team documents moisture levels and verifies complete drying.
Can Burst Pipes Cause Mold Growth if Not Treated Quickly?
Yes, burst pipes can trigger mold growth if you don’t treat water intrusion quickly. You need rapid response and thorough drying within 24–48 hours for effective mold prevention, helping you protect your home and stay safely compliant.
What Warning Signs Indicate Hidden Water Damage After a Plumbing Rupture?
Like a silent thief, hidden water damage warns you through musty odors, bubbling paint, warped flooring, stains, and rising bills. You should use moisture detection to confirm hidden leaks, protect your home, and stay compliant.
How Can I Prevent Pipes From Bursting Again in the Future?
Prevent future bursts by adding pipe insulation, maintaining consistent indoor heat, sealing drafts, monitoring pressure, and scheduling seasonal maintenance. You’ll protect your system, meet best practices, and gain confidence that your home’s plumbing stays resilient.
Summary
When a plumbing rupture turns your home into an indoor pool, speed becomes your best compliance strategy. If you shut off utilities, document losses, and bring in a certified restoration team fast, you’ll limit structural damage, microbial growth, and claim delays. You can’t undo the burst, but you can control the outcome with precise drying, sanitation, and repairs. Ironically, the quickest response is what restores normalcy most carefully, protecting your property, health, and insurance documentation.