
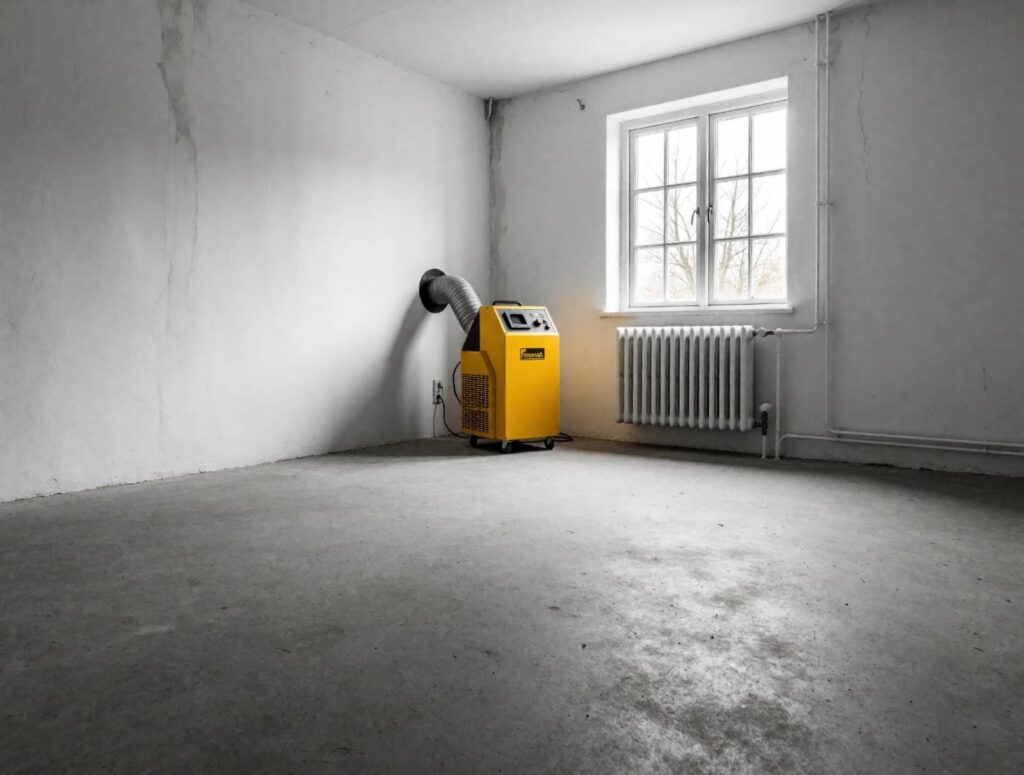
When you need to dry structural water damage fast, you must control risk before you chase speed. Shut off the water source, cut power to affected areas, and assess how far moisture has moved into walls, floors, and ceilings. Fast extraction and proper airflow matter, but timing alone won’t prevent hidden damage or microbial growth. The next steps determine whether the structure dries cleanly or traps moisture where you can’t see it.
Key Takeaways
- Confirm structural safety, shut off electricity and water, and avoid standing water until hazards and contamination levels are assessed.
- Remove standing water immediately with pumps or wet vacuums, prioritizing the most saturated areas and documenting depth and material contact.
- Open wet walls, remove baseboards and insulation, and create airflow paths so trapped moisture can drain and evaporate faster.
- Run air movers and dehumidifiers continuously in a closed drying chamber, adjusting placement to eliminate dead spots and improve moisture removal.
- Check moisture daily in framing, drywall, and subfloors, and call a restoration professional if readings stall, odors develop, or structure shifts.
Assess Structural Water Damage and Safety
Before you start drying, inspect the area for structural instability and active hazards. Confirm whether walls, ceilings, and floors still support weight, and document visible changes in structural integrity.
As part of your team mindset, follow safety protocols, wear protective gear, and isolate unsafe zones for everyone nearby.
Next, identify the water source and classify contamination level so your damage assessment stays accurate. Check how different building materials reacted, since drywall, insulation, and wood fail at different rates.
Perform a risk evaluation for sagging surfaces, hidden saturation, and airborne particulates. Photograph all affected areas to support insurance claims and establish a clear baseline.
Early, methodical inspection also strengthens mold prevention, because you’ll find trapped moisture pockets before they spread deeper into the structure and surrounding contents.
Stop the Water and Cut Power
First, shut off the water supply at the nearest valve or main line to stop additional intrusion.
Next, turn off electricity to the affected area at the breaker panel to reduce shock and fire risk.
Don’t enter standing water or handle wet electrical components until you’ve confirmed power is off.
Shut Off Water
Act immediately: stop the water at its source and shut off electricity to any affected area if it’s safe to reach the breaker panel without stepping into standing water. Your immediate response limits saturation, protects materials, and supports safer cleanup for everyone involved.
Follow emergency procedures: close the nearest fixture valve first, then isolate the main water supply if flow continues. Use leak detection basics—check supply lines, appliance connections, shutoff valves, and visible pipe joints.
Apply safety measures before touching damaged plumbing. Wear gloves, avoid contaminated water, and use a flashlight to inspect dark areas.
If a burst line or failed fitting caused the loss, tag the location for plumbing repairs and document conditions. By acting methodically, you help your household stay coordinated, protected, and ready for the next recovery step.
Turn Off Electricity
Once you’ve stopped the water source, cut power to any affected circuits to reduce shock and fire risk during cleanup. Don’t step into standing water near outlets, appliances, or extension cords. Your next moves should follow strict safety precautions, because hidden electrical hazards can remain active behind wet drywall, baseboards, and flooring.
Go to your breaker panel and switch off breakers serving the damaged area.
If you can’t identify the circuit safely, shut off the main power disconnect.
Use a flashlight, not candles, while you inspect for sparking, burnt odors, or warm panels.
If water reached your service panel, meter, or hardwired equipment, stop and call a licensed electrician immediately. You’re protecting your home and everyone in it by making power isolation part of your standard response.
Remove Standing Water Fast
Once you’ve stopped the source and cut power, you need to remove standing water immediately to limit material saturation and microbial growth.
Start with priority water removal in the most affected and vulnerable areas, then use the correct pump and wet vacuum methods for the water depth and surface type.
Keep your footing secure, monitor equipment continuously, and move fast so you can reduce damage before the drying phase begins.
Rapid Water Extraction
Shut off power to affected rooms if water is near outlets, cords, or appliances, then remove standing water immediately to limit material saturation, microbial growth, and structural damage.
For rapid water damage control, you should use proven extraction techniques and stay methodical. Work as a team, wear boots and gloves, and keep pathways clear.
- Use a submersible pump for deep pooling, directing discharge away from the structure.
- Switch to a wet vacuum for shallow water, tight corners, and surface recovery on hard flooring.
- Pull water from carpet and pad with weighted extraction tools to reduce trapped moisture fast.
Check hose connections, monitor fill levels, and empty recovery tanks before overflow.
If contamination is suspected, isolate the area and stop until proper protective equipment and disposal procedures are in place.
Priority Water Removal
After you’ve handled the initial extraction setup, focus on removing all standing water as fast as conditions allow, because every extra minute increases absorption into flooring, trim, drywall, and framing.
Begin at the lowest elevation and work outward so you don’t spread contamination into cleaner areas. As part of your emergency response, isolate energized zones, verify slip hazards, and maintain clear paths for your team.
Use disciplined water removal techniques to target pooled sections first, then reassess room by room for migration beneath baseboards, cabinets, and thresholds. You should document depth, extent, and material contact before conditions change.
If water is contaminated, upgrade PPE immediately and restrict access. When you move with a shared plan, you protect the structure, support one another, and keep the drying process on schedule for everyone involved.
Pump And Vacuum Methods
Deploy submersible pumps for deep pooling and switch to wet vacuums as water levels drop, because each tool works best within a specific depth range. Before you start, shut off power in affected zones, wear boots and gloves, and verify discharge routes won’t recirculate water indoors.
Select pump types by depth, debris load, and flow rate; use trash pumps for sediment-heavy water and utility pumps for cleaner basement flooding.
Stage hoses to exterior drainage, secure electrical connections above wet surfaces, and monitor intake screens so performance doesn’t drop.
Apply vacuum techniques once water thins to shallow coverage; overlap passes, edge walls first, and empty tanks before suction weakens.
Open Wet Walls, Floors, and Ceilings
If moisture has reached inside the assembly, open wet walls, floors, and ceilings promptly so trapped water can drain and air can circulate across hidden surfaces.
Shut off electricity to affected circuits first, verify structural stability, and wear gloves, eye protection, and a respirator before you cut.
Remove baseboards, drill weep holes, and cut drywall several inches above the waterline to expose cavities.
Pull out wet insulation immediately because it holds moisture, loses R-value, and can seed wall mold.
Lift saturated carpet padding and open swollen flooring at seams or edges so subfloors can release moisture.
In ceilings, open the lowest sagging point carefully to drain pooled water under control.
Bag debris, separate salvageable materials, and document each opening.
You’ll protect the structure better and work like the restoration team you belong with.
Set Up Air Movers for Structural Drying
Once you’ve opened wet assemblies, position air movers immediately to drive high-velocity airflow across exposed framing, subfloors, drywall edges, and other damp surfaces. You’ll speed evaporation only when airflow skims surfaces, so set units low, angle them correctly, and keep pathways unobstructed.
Place centrifugal units for wall cavities and tight framing bays.
Use axial units for broad floor areas and long, open runs.
Stagger machines every 10–16 feet to create consistent circulation.
Choose air mover types based on material layout, not guesswork. As part of proven drying techniques, secure cords, use GFCI protection, and keep equipment out of standing water.
You’re part of a methodical restoration process, so monitor for dead spots, adjust placement as surfaces change, and maintain safe access around every operating unit during drying.
Dry Structural Water Damage With Dehumidifiers
Two dehumidifier classes handle most structural drying jobs: refrigerant units for warm, high-humidity spaces and desiccant units for cooler conditions or dense materials that hold moisture deeply.
Position the unit centrally or duct it to affected zones, then close windows, exterior doors, and unnecessary interior openings to create a controlled drying chamber.
Run the dehumidifier continuously, route condensate safely to a drain or collection container, and keep cords dry and protected from foot traffic.
Clean or replace filters as specified so airflow stays strong and coils or desiccant media perform efficiently.
These dehumidifier benefits support moisture control by pulling vapor from the air, lowering humidity ratios, and helping wet framing, subfloors, and sheathing release bound moisture faster.
When you follow these steps, you’re drying like a disciplined restoration team.
Check Moisture and Call a Pro if Needed
Drying equipment does the heavy lifting, but you still need to verify that moisture levels are actually dropping in the structure. Use moisture detection tools on drywall, subfloors, framing, and insulation, then compare readings daily. You’re part of a careful process, and consistent documentation helps everyone stay safe and aligned.
Check hidden cavities, corners, and floor-to-wall junctions where trapped water lingers.
Watch for stalled readings, musty odor, staining, or material softening despite airflow.
Stop and get a professional assessment if contamination, electrical risk, or structural movement appears.
If readings don’t trend toward dry standards, don’t guess. Call a qualified restoration pro with calibrated meters and thermal imaging. Fast intervention protects your home, supports the team effort, and reduces mold risk and costly secondary damage later.
Frequently Asked Questions
How Much Does Structural Water Damage Drying Usually Cost?
You’ll usually pay $1,200–$5,000 for structural water damage drying, depending on cost factors like moisture spread, materials, and labor. Use approved drying techniques, monitor humidity, and follow safety protocols so your property meets restoration standards.
Will Homeowners Insurance Cover Structural Water Damage Drying?
Yes—like a seatbelt in a crash, your homeowners policy often covers sudden damage drying. You’ll need insurance coverage verification, document hazards, and follow the claim process.
How Long Does It Take for Mold to Start Growing?
Mold can start growing within 24 to 48 hours after water exposure. You reduce risk through immediate water extraction, humidity control, and mold prevention steps, keeping your home safer and helping your household stay protected together.
Can I Stay in My Home During the Drying Process?
Yes—you can stay, if your home hums like a workshop and you follow safety precautions. You’ll need professional drying methods, isolated wet zones, clean airflow, and clearance from electricity, contaminants, and unstable materials.
What Signs Appear Days After Hidden Structural Water Damage?
You’ll notice water stains, musty odors, warped materials, and peeling paint. Check for damp insulation and test framing immediately; hidden moisture can indicate a compromised structure. You protect your home and everyone in it safely.
Conclusion
Drying structural water damage fast comes down to acting methodically and safely. You’ll stop the source, shut off power, extract water, open wet assemblies, and run air movers and dehumidifiers in the right sequence. Keep checking moisture levels so hidden dampness doesn’t remain. Remember, an ounce of prevention is worth a pound of cure: fast, controlled drying helps prevent structural decay, corrosion, and microbial growth. If contamination or severe saturation is present, call a qualified restoration professional immediately.